
— Mains
Crispy Air Fryer Pork Belly with Crackling
This air fryer pork belly uses a two-stage cook for better texture: a lower first stage to render the fat gently, followed by a hotter finish to crisp the skin into proper crackling.
K
K.T. Tavelle
Developed for larger basket-style air fryers · 7 min read · Serves 3–4
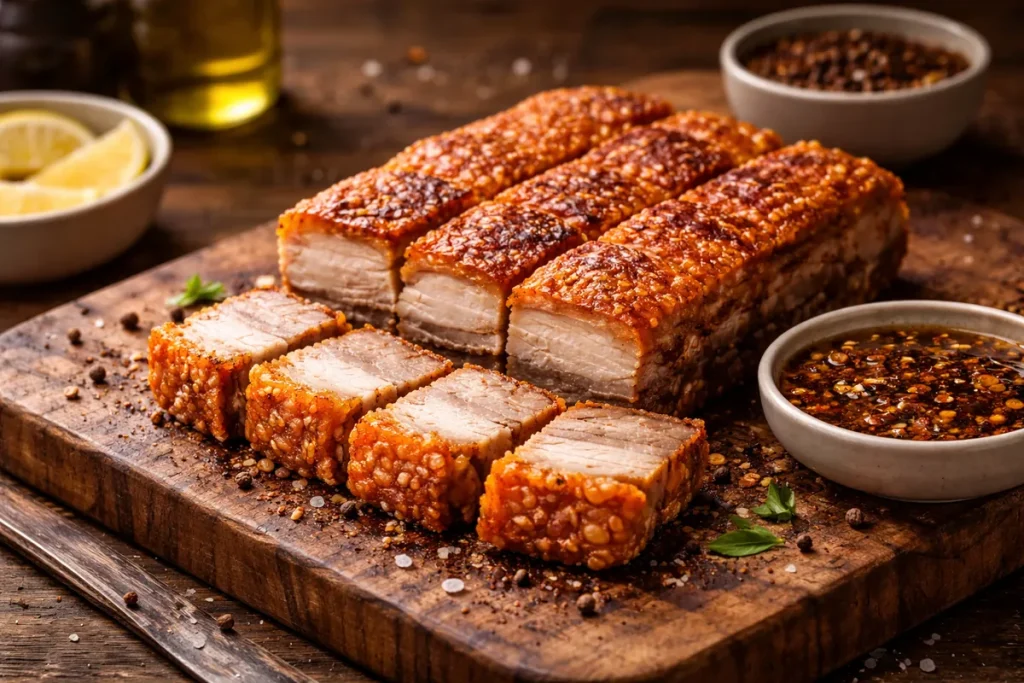
Crackling is one of the most satisfying things you can make in an air fryer, but it works best when you do not rush it. This version uses a gentler first stage to render the fat, then a hotter finish to blister the skin while keeping the meat juicy underneath.
New to air fryers? Read our complete buying guide →
Worth Knowing Before You Cook
If the skin is still holding moisture, the crackling is far more likely to stay chewy instead of crisp. Drying, piercing, and keeping the skin clean before cooking make the biggest difference here.
Ingredients
Equipment
Method
- Dry the skin well. Pat the pork belly completely dry with paper towels. The drier the skin is at the start, the better the crackling will be.
- Pierce the skin. Use a skewer, pin, or meat tenderiser to prick the skin all over, making lots of small holes. Try not to go deep enough to pierce into the meat.
- Season the underside. Turn the pork belly over. Rub the meat side with the soy sauce, five-spice powder, and Shaoxing wine if using. Keep the skin as clean as possible.
- Brush the skin. Turn the pork belly skin-side up and brush the skin with the white vinegar.
- Make a foil boat. Place the pork on a sheet of foil and fold the foil up around the sides and base to make a snug tray. Leave the skin fully exposed at the top. This helps protect the meat while the skin stays open to the heat.
- Dry again if possible. For better crackling, refrigerate the pork uncovered for at least 1 hour, or overnight if you have time.
- Salt the skin. Just before cooking, cover the skin with a thick layer of coarse sea salt.
- Stage 1: render the fat. Air fry at 160°C (320°F) for 30 minutes. This stage helps the fat render slowly without drying the meat out too quickly.
- Remove the salt and foil. Take the pork out carefully. Scrape off the salt crust and brush away any excess salt. Remove the foil.
- Stage 2: crisp the skin. Return the pork to the air fryer and cook at 200°C (400°F) for 10 to 15 minutes, until the skin is blistered and crisp. Start checking early if your air fryer runs hot.
- Rest before slicing. Let the pork belly rest for 10 minutes. Slice it skin-side down with a sharp knife to help keep the crackling attached.
Notes
Why Air Fryer Pork Belly Works
Air fryer pork belly works best when the skin dries properly, the fat gets time to render, and the final heat is high enough to blister the surface. Instead of blasting it from the start, this two-stage method gives you a better chance of crisp crackling on top and tender meat underneath.
- Dry skin matters most — pat it dry well, and leave it uncovered in the fridge for at least 1 hour if you can.
- The two-stage cook renders fat first at 160°C (320°F), then crisps the skin at 200°C (400°F).
- Pierce the skin all over with a skewer, clean pin, or meat tenderiser, but try not to pierce into the meat.
Pro Tips
- A flatter piece of pork belly usually crisps more evenly than a thicker or uneven one.
- If one side sits lower than the rest, prop it up with a little crumpled foil so the skin stays level.
- If soy sauce or marinade gets onto the skin, wipe it away before cooking or that patch may stay chewy.
- If the crackling colours too quickly before it fully blisters, lower the finishing stage slightly and give it a little more time.
What Can Go Wrong
- If the crackling stays chewy: the skin was still holding moisture, or the fat did not have enough time to render before the final hot stage.
- If the skin colours too quickly: lower the finishing stage slightly and add a little more time so it can blister without burning.
- If one side is not crisping evenly: the piece may be sitting unevenly in the basket, so prop the lower side up with a little foil next time.
Storage & Reheating
Store leftovers in the fridge for up to 3 days. Keep them in a single layer if possible so the crackling stays in better shape.
Reheat in the air fryer at 180°C (355°F) for about 4 minutes, or until hot and crisp again. Avoid the microwave if you want to keep the crackling crisp.
Related Guides
- Air Fryer Temperature & Cooking Times Chart — when to go lower, when to finish hotter, and how to avoid overcooking thick cuts.
- Air Fryer Not Crispy? — troubleshooting tips covering rendered fat, moisture, and basket airflow, all directly relevant to crackling.
- Best Large Air Fryers — more basket surface area means better spacing and more even crackling. Worth considering if you cook pork belly or larger cuts regularly.
FAQ
Why is my crackling chewy instead of crisp?
Usually because the skin was still holding moisture, or because the fat did not have enough chance to render before the final hot stage. Drying, piercing, and the two-stage cook all help.
Can I use a different vinegar?
White vinegar is the cleanest option here because it is neutral. Apple cider vinegar can work too, but stronger or sweeter vinegars are less ideal.
Do I need the foil boat?
It helps. The foil supports the meat and catches juices during the first stage, while leaving the skin exposed so it can dry and crisp properly later.
Can I skip the overnight drying?
Yes. Even 1 hour uncovered in the fridge helps. Overnight usually gives the best result, but it is not essential.
— Gear
What I Used
The tools that make this recipe work consistently. Affiliate links — see disclosure.
Instant-Read Thermometer
Useful for checking the thickest meaty section, especially when the pork belly is unusually deep. Check the meat rather than judging doneness from the crackling alone. See our recommended instant-read thermometer →
Sharp Paring Knife
A very sharp paring knife makes it easier to score the skin with shallow, even cuts without slicing into the meat underneath. If the rind is particularly tough, ask the butcher to score it for you.
Philips Airfryer XXL
This is the larger basket-style model used for the recipe. Its roomy basket keeps the skin exposed during the hot finishing stage, while the separate fat-capture system channels rendered fat below the cooking area. Another large basket air fryer can also work. Read our Philips Premium Airfryer XXL review →
— Keep Cooking
You Might Also Like
-
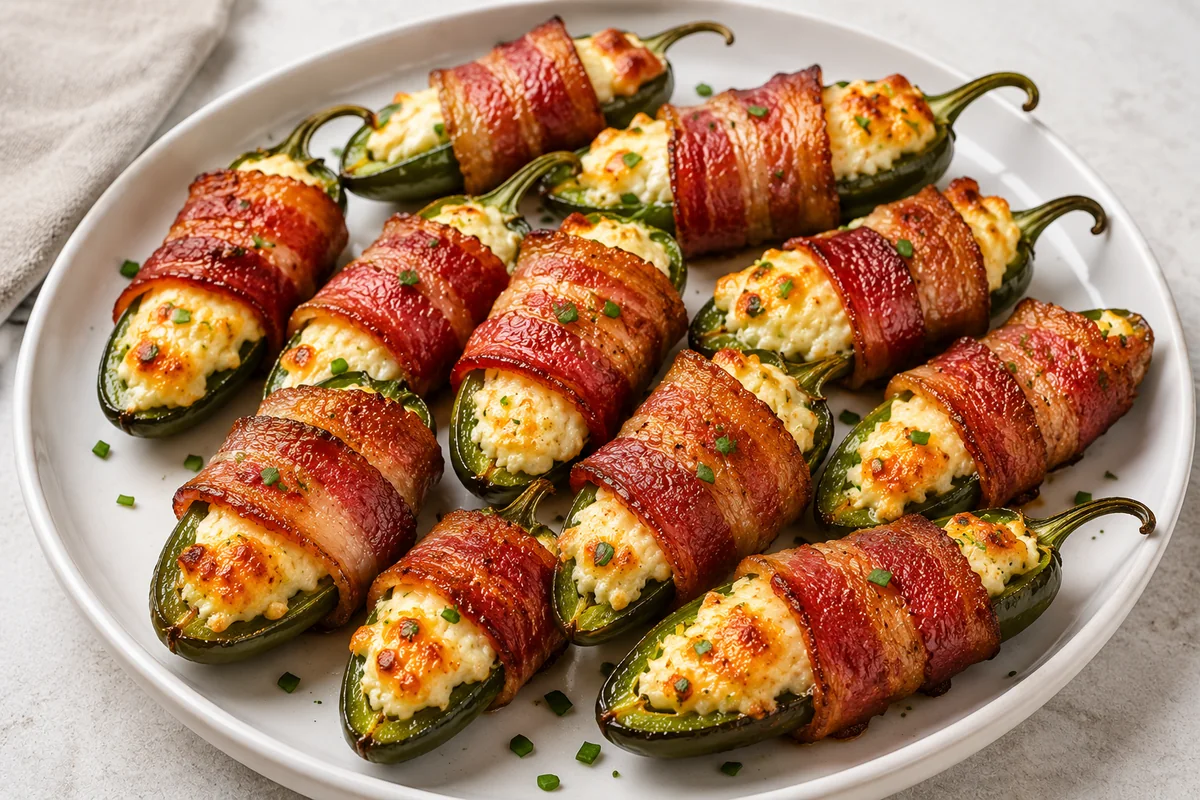
Air Fryer Bacon Wrapped Jalapeño Poppers
An easy air-fryer take on bacon wrapped jalapeño poppers — creamy filling, tender peppers, and crisp bacon in a single layer, with the key to avoiding basket leakage.
-
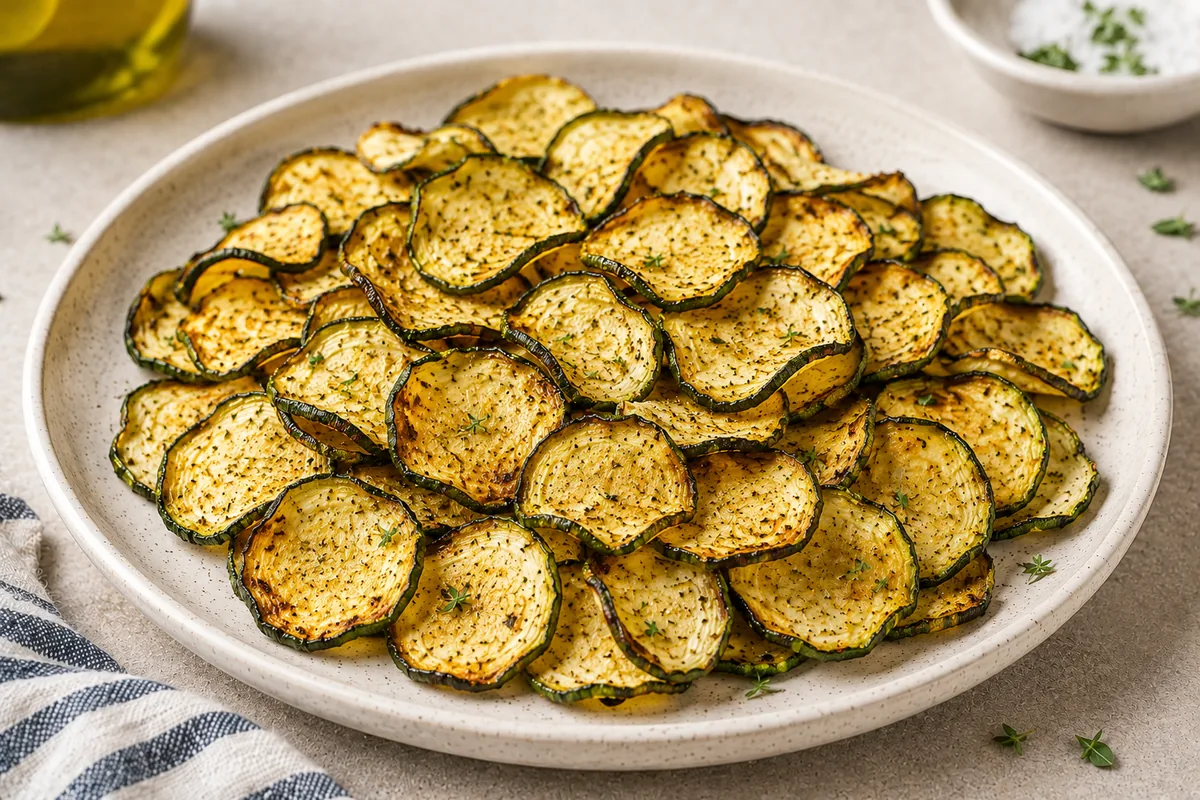
Air Fryer Zucchini Chips
Crispy air fryer zucchini chips with thin slices, simple seasoning, and practical tips for controlling moisture and getting better crunch.
-
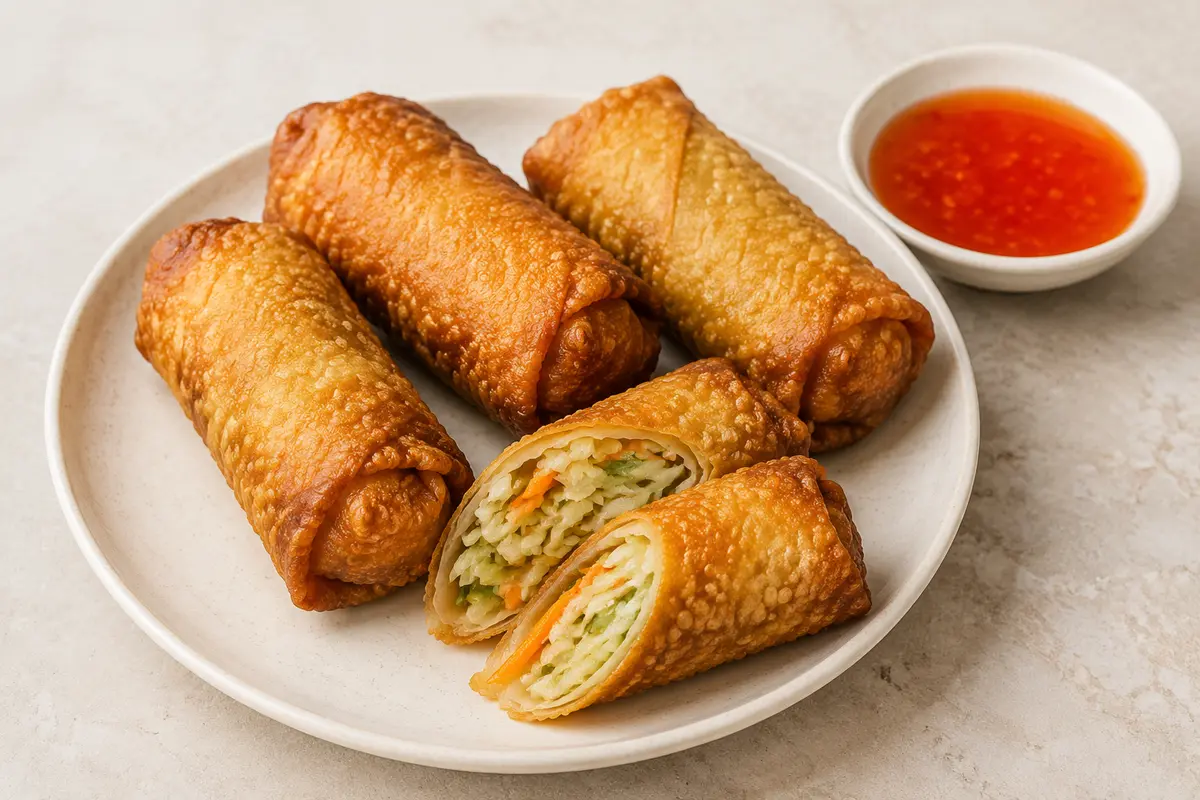
Air Fryer Frozen Egg Rolls
Cook frozen egg rolls straight from the freezer for crisp wrappers and a hot centre. The method includes practical timing for standard and larger rolls, plus clear guidance on spacing and oil spray.
— Stay in the Loop
New recipes every week
No fluff. Just crisp, practical kitchen inspiration in your inbox.