
— Frozen
Air Fryer Frozen Potstickers: Crispy Wrappers, Hot Filling
Cook frozen potstickers in the air fryer with crisp golden wrappers and hot filling. Includes timing, oil tips, troubleshooting, and reheating advice.
K
K.T. Tavelle
Cosori TurboBlaze, 6qt basket
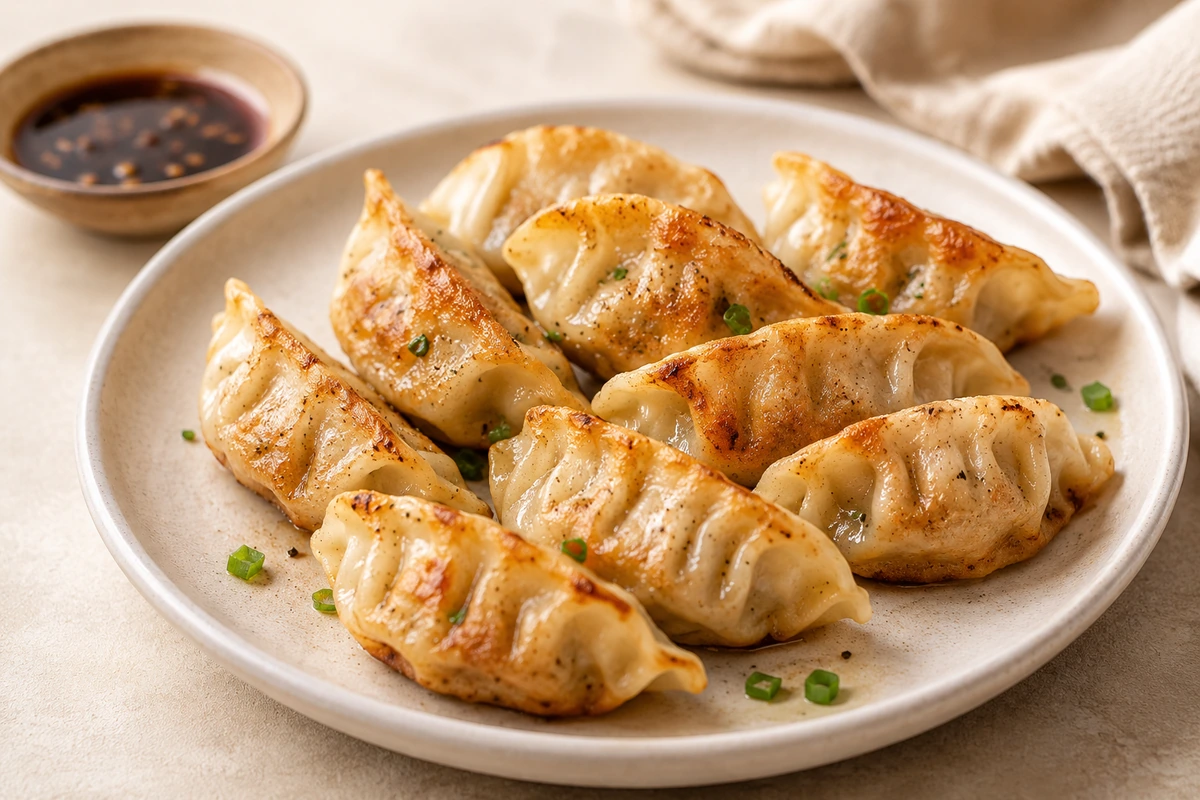
Cooking frozen potstickers in the air fryer is significantly faster than traditional steaming and pan-frying. The challenge is avoiding wrappers that turn leathery or papery — this recipe solves that with a specific oiling technique and the right heat to mimic a traditional sear. A quick note on dumpling types: this method works best for frozen potsticker or gyoza-style dumplings, not delicate soup dumplings or thin wontons, which need different cooking methods entirely.
Worth Knowing Before You Cook
The single most common mistake is skipping the oil spray. Potsticker dough is a dry, starch-heavy wrapper — in a high-airflow environment without fat, the edges turn hard and inedible rather than crispy. Oil is not optional here. Oven-style air fryers run slightly less intense than basket models, so add 1–2 minutes to the cook time and check for even golden colour before removing.
Ingredients
Equipment
Method
- Preheat the air fryer to 190°C (375°F) for 3 minutes. Starting hot helps the wrappers brown before the filling overcooks.
- Lightly spray the frozen potstickers with neutral oil using a refillable non-aerosol oil mister, or brush them with 1–2 teaspoons neutral oil. Focus on the pleated edges, as dry wrapper edges can turn hard in the air fryer.
- Place the frozen potstickers in a single layer in the air fryer basket, leaving a little space between each piece. Cook in batches if needed.
- Air fry at 190°C (375°F) for 5 minutes, then shake the basket or turn the potstickers with silicone-tipped tongs. Continue cooking for another 3–5 minutes, until the wrappers are crisp, lightly golden, and the filling is hot through.
- Check that the filling is steaming hot in the centre. For meat-filled potstickers, the filling should reach 74°C (165°F) if checked with a thermometer.
- For oven-style air fryers or thicker potstickers, add 1–2 minutes if the wrappers are still pale or the filling is not fully hot.
- Rest the potstickers for 2 minutes before serving. This gives the internal steam time to settle so the filling stays juicy and the wrapper texture improves.
Notes
Why This Recipe Works
The air fryer functions as a high-intensity convection oven. In a traditional pan-fry, the bottom of the potsticker is seared while the top is steamed. In the air fryer, rapid air circulation extends that searing action across the entire surface — but only if you add oil. In practice, the potstickers that turn out best are the ones with visible pleats and a light but even oil coating; when the wrapper goes in dry, the edges tend to firm up before the filling is properly hot.
- A thin coat of oil facilitates the Maillard reaction on the starch-heavy dough, producing crunch across the whole wrapper — not just the base
- Cooking from frozen (not thawed) keeps the structural integrity of the wrapper intact during the first minutes of heat
- Spacing the dumplings apart prevents trapped steam from creating gummy patches that will not crisp regardless of cook time
Pro Tips
- Oil the potstickers in a bowl before they go in — tossing is faster and more even than spraying inside the basket
- Pay extra attention to the pleated seam — it is the driest part of the wrapper and the first place to turn leathery
- Flip or shake at exactly the 5-minute mark so both sides get direct heat exposure, not just the face-down surface
- Rest for 2 minutes after cooking — the internal steam settles and the filling stays juicy on the first bite rather than releasing all at once
What Can Go Wrong
Wrappers are leathery or rubbery
The most likely cause is uneven or insufficient oil on the dough pleats. Spray or toss more thoroughly before cooking, focusing on the pleated seam — that is the driest spot and the first to suffer without fat coverage.
Wrappers are hard or cardboard-like
This is a different problem from leathery — the dough dried out rather than crisped, usually from cooking too long at too low a temperature. Increase to 190°C (375°F) if you were running cooler, and shorten the overall cook time.
Doughy or gummy spots
Almost always overcrowding. Steam trapped between dumplings that are touching creates gummy patches that will not crisp regardless of how long you cook them. Cook in smaller batches with clear space between each piece.
Sticking to the basket
The basket was not oiled or not fully preheated before the dumplings went in. Lightly spray the basket grate before adding food and always run the full 3-minute preheat first.
Burnt edges, cold centre
Temperature is too high for thick-skinned dumplings. Reduce to 180°C (350°F) and add 2 minutes to the total cook time to let the heat reach the filling without scorching the wrapper.
Storage & Reheating
Store leftovers in an airtight container in the fridge for up to 2 days. The wrappers will soften as they cool, which is normal.
To reheat, air fry at 180°C (350°F) for 3–4 minutes until the exterior recrisps. Avoid the microwave — it softens the dough and you will lose the wrapper texture entirely.
Related Guides
- Air Fryer Frozen Food Times — times and temperatures for all common frozen foods in the air fryer
- Air Fryer Cooking Times — the full cooking times and temperature reference for every category
- Air Fryer Cheat Sheet — a quick-reference card for temps, times, and the most common fixes
FAQ
Do I need to thaw frozen potstickers before air frying?
No — cook them straight from frozen. Thawing softens the wrapper before it has a chance to crisp in the air fryer, and you lose the structural integrity that gives you the pleated texture on the outside.
Why do I need to use oil if the air fryer is supposed to be low-fat?
The air fryer uses less oil than deep frying, but potsticker dough is a dry starch-heavy wrapper that needs a thin fat coating to crisp rather than dry out. A light spray across the surface is enough — you are not submerging them, just giving the Maillard reaction something to work with.
Can I cook gyoza the same way as potstickers?
Yes — gyoza are a Japanese-style potsticker with a thinner wrapper, so the method is identical but they may finish at the lower end of the time range. Shake or turn at 5 minutes, then start checking from about 8 minutes total and give them an extra minute if needed.
— Gear
What I Used
The tools that make this recipe work consistently. Affiliate links — see disclosure.
Air Fryer
This recipe was tested in the Cosori TurboBlaze 6qt. If you are choosing a model, see our best air fryer overall pick.
Oil Sprayer
A refillable non-aerosol mister works well with plain avocado or vegetable oil. Some air fryer manufacturers advise against aerosol cooking sprays because additives can leave residue on certain non-stick surfaces, so follow the care instructions for your appliance. See our recommended oil sprayer →
Silicone-Tipped Tongs
Useful for turning the potstickers without tearing the wrappers. Silicone tips grip more gently than exposed metal, which can puncture the dough or drag against the coated basket. See our recommended silicone-tipped tongs →
— Keep Cooking
You Might Also Like
-
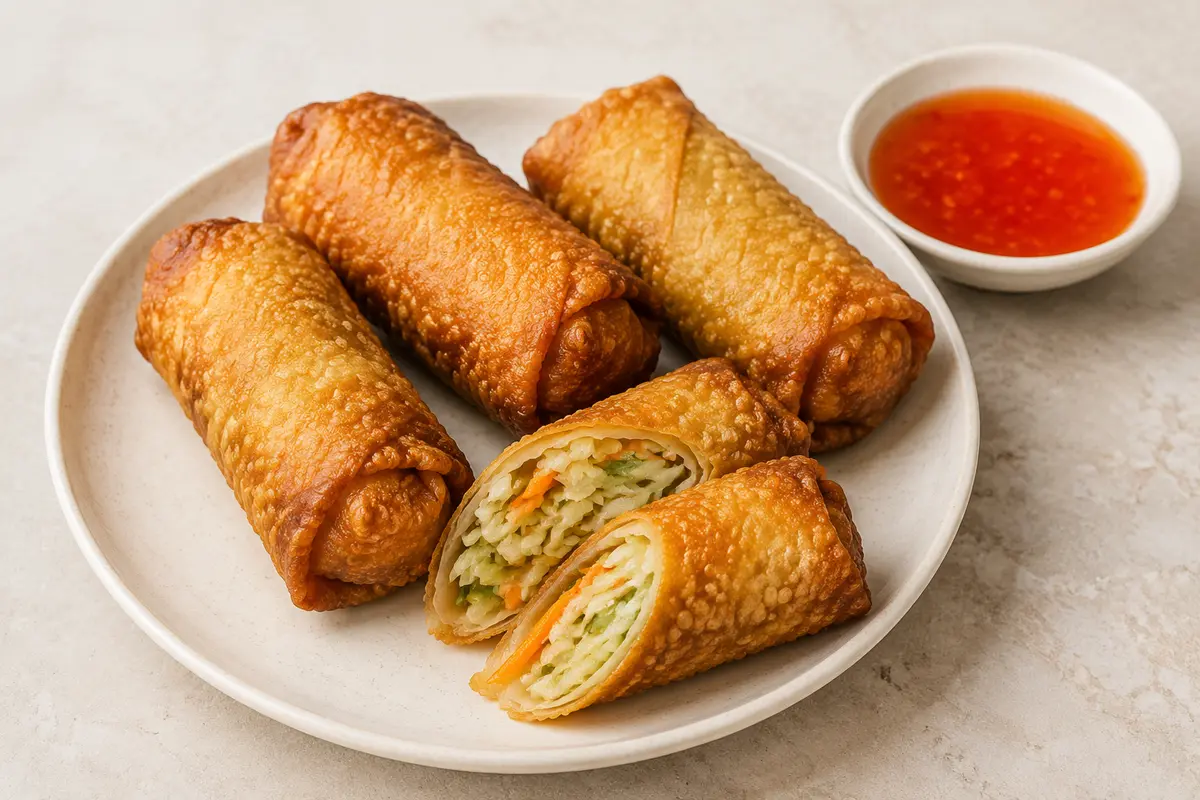
Air Fryer Frozen Egg Rolls
Cook frozen egg rolls straight from the freezer for crisp wrappers and a hot centre. The method includes practical timing for standard and larger rolls, plus clear guidance on spacing and oil spray.
-
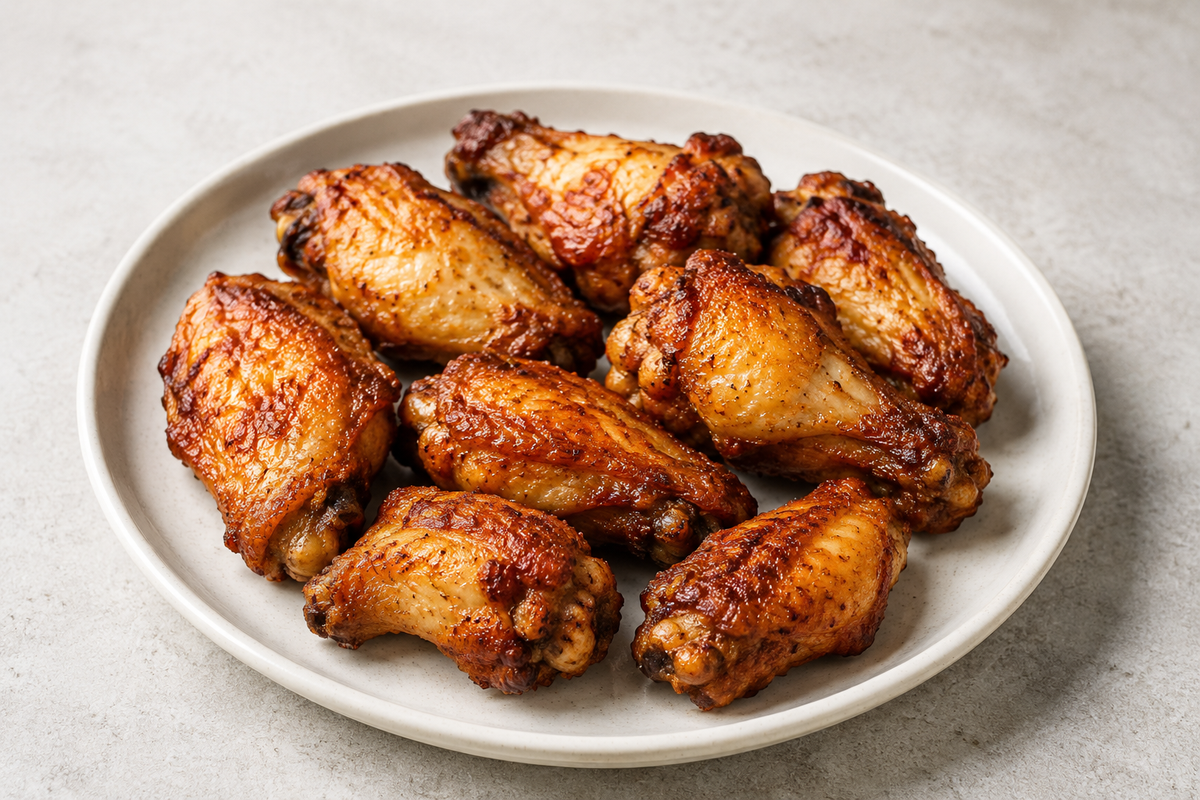
Air Fryer Frozen Chicken Wings
Cook frozen chicken wings in the air fryer with no thawing or added oil. Follow the spacing, flipping and doneness tips for crisp skin and juicy centres.
-
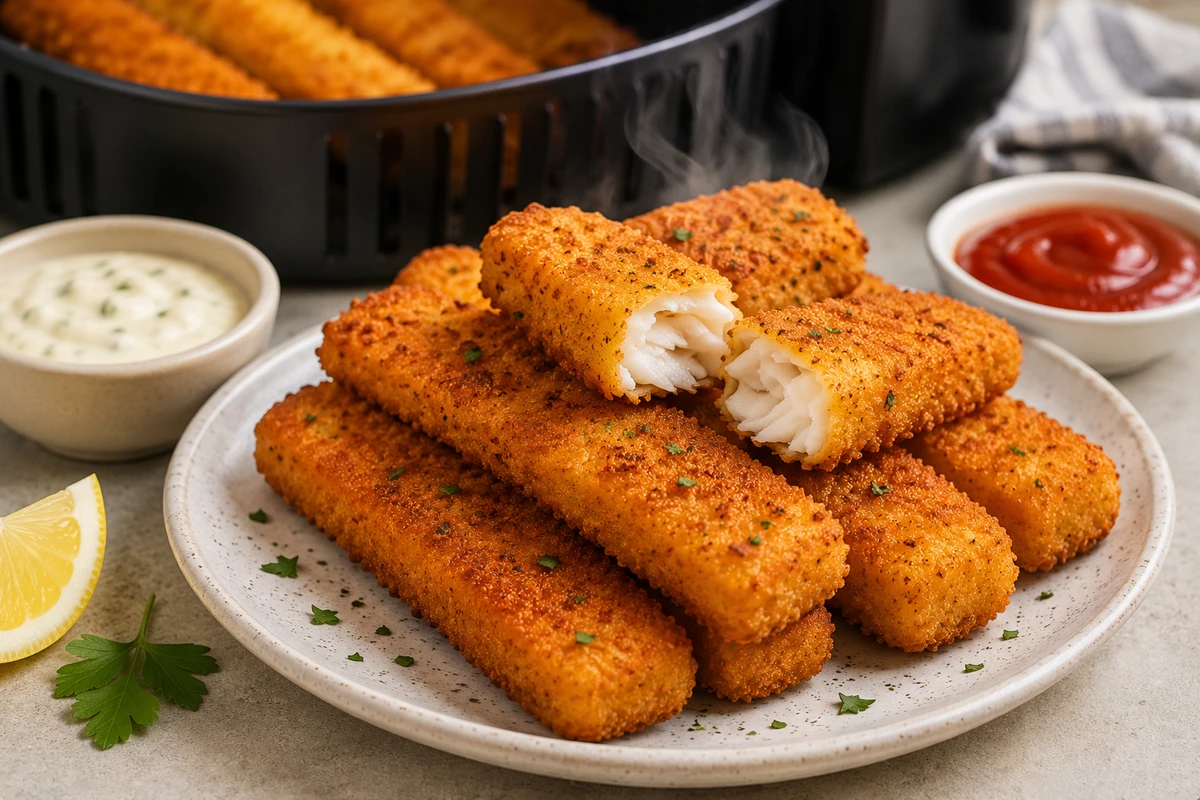
Air Fryer Frozen Fish Sticks
Get crispy frozen fish sticks from the air fryer with no oil required. This guide covers the right temperature, when to flip, how to check doneness, and what causes soggy or unevenly browned results.
— Stay in the Loop
New recipes every week
No fluff. Just crisp, practical kitchen inspiration in your inbox.