
— Mains
Air Fryer Chicken Breast, Done Right
Juicy air fryer chicken breast with simple seasoning, clear timing, and safe doneness guidance. This version works because the chicken is cooked quickly at high heat, then checked properly with a thermometer before resting.
K
K.T. Tavelle
Developed for basket-style air fryers · 21 min · Serves 2
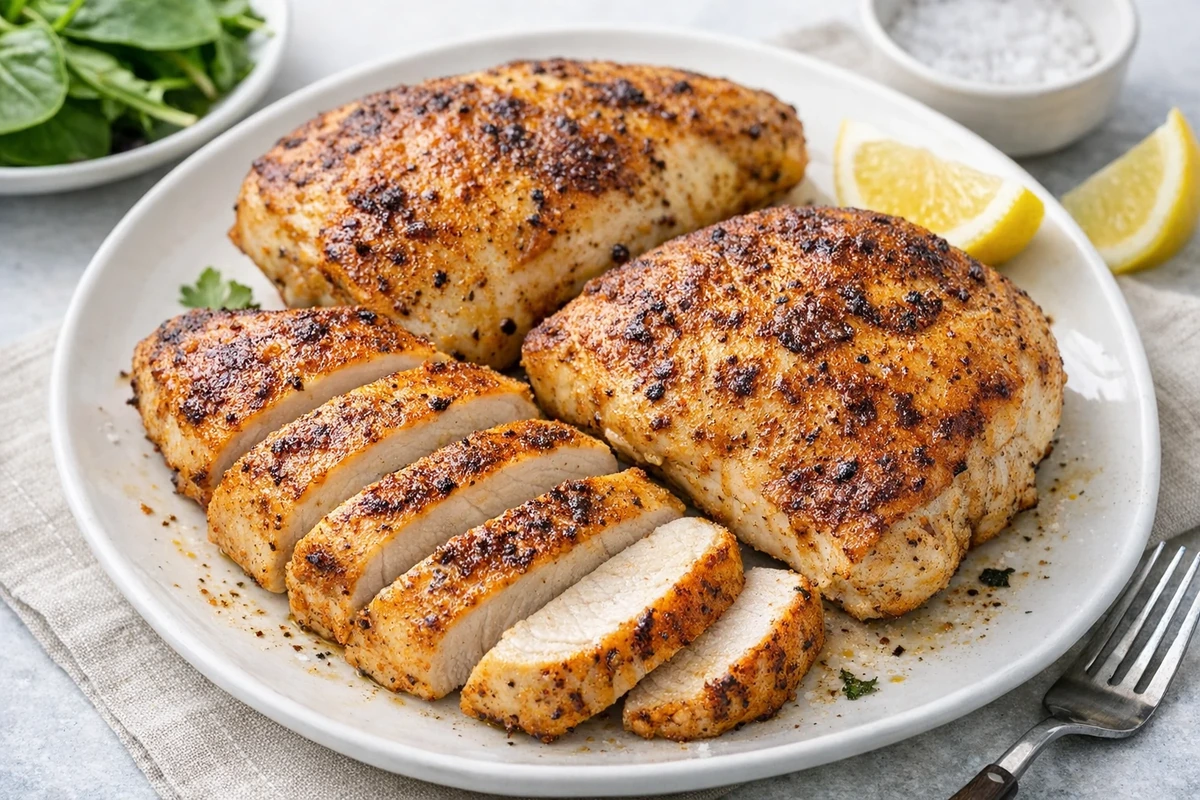
Chicken breast is the cut most people get wrong in an air fryer — not because of the heat, but because of timing. This version uses a simple seasoning blend, a hot 200°C (400°F) air fryer, and an instant-read thermometer so the breast comes out juicy without relying on guesswork.
Worth Knowing Before You Cook
Chicken breast is done when the thickest part reaches 74°C (165°F). Resting still matters for juiciness, but it should not replace checking the final temperature. If the chicken has not reached 74°C (165°F), return it to the air fryer briefly and check again.
Ingredients
Equipment
Method
- Pat the chicken breasts dry with paper towels so the seasoning sticks and the surface browns more evenly.
- Rub the chicken with olive oil, then coat evenly with paprika, garlic powder, onion powder, salt, and black pepper.
- Preheat the air fryer to 200°C (400°F) for 3 minutes, if your model benefits from preheating.
- Place the chicken breasts in a single layer in the basket. Air fry at 200°C (400°F) for 9 to 12 minutes, flipping halfway through. Thinner pieces may finish sooner, while thicker pieces may need the full time.
- Check the thickest part with an instant-read thermometer. Chicken breast is done when it reaches 74°C (165°F).
- Transfer the chicken to a plate and rest for 5 minutes before slicing. If the chicken has not reached 74°C (165°F) after resting, return it to the air fryer briefly and check again.
Notes
Why This Recipe Works
Air fryer chicken breast works best when the surface is dry, the pieces are similar in thickness, and the final temperature is checked instead of guessed. The goal is a browned outside without pushing the lean meat past the point where it turns stringy.
- A dry surface helps the seasoning stick and encourages better browning.
- Flattening the thick end to about 2cm helps both ends finish at the same time.
- Checking for 74°C (165°F) in the thickest part keeps the method safe and repeatable.
Pro Tips
- Pat the chicken completely dry before seasoning — surface moisture is the main reason air fryer chicken comes out pale instead of golden.
- Use an instant-read thermometer. Chicken breast has almost no margin for error and guessing on temperature is how it turns dry.
- Do not skip the 5-minute rest. It helps the juices settle before slicing.
- Store whole where possible — sliced chicken loses moisture faster in the fridge and reheats less well than an intact breast.
What Can Go Wrong
If the chicken is dry and rubbery…
The chicken was likely overcooked or sliced too soon. Check the thickest part with a thermometer and remove it once it reaches 74°C (165°F), then rest for 5 minutes before slicing.
If the outside is dark but the centre is underdone…
The breast was too thick or uneven. Flatten the thicker end to about 2cm before cooking so both ends finish at the same time — an uneven breast can overcook on one end before the other is done.
If the surface is pale and wet-looking…
The surface was not dried properly before seasoning, or the basket was not preheated. Pat the chicken completely dry before seasoning, and preheat the air fryer if your model benefits from it so the chicken starts browning instead of steaming.
Storage & Reheating
Let the chicken cool completely before storing. Keep whole breasts in an airtight container in the fridge for up to 3 days — slice only what you need, as whole breasts stay juicier than pre-sliced pieces.
To reheat, air fry at 175°C (350°F) for 3–4 minutes until warmed through. Reheat whole where possible — sliced chicken dries out faster and loses more moisture before the centre warms up.
Related Guides
- Best Air Fryers Overall — consistent temperature output matters more for chicken breast than almost any other recipe; a reliable machine helps make the timing and thermometer check repeatable.
- Air Fryer Temperature & Cooking Times Chart — for quick-reference temperatures across other proteins and sides.
- Air Fryer Cheat Sheet — a faster visual reference if you want default timings and temperatures at a glance while cooking.
FAQ
What temperature should air fryer chicken breast reach?
For a public recipe, the safest guidance is to cook chicken breast until the thickest part reaches 74°C (165°F). If you remove it slightly earlier for carry-over cooking, check again after resting and return it to the air fryer if it has not reached 74°C (165°F).
Do I have to use a meat thermometer?
For this specific recipe, a digital meat thermometer is the only way to guarantee results. Chicken breast has a very narrow margin for error; guessing by time alone often leads to meat that is either dangerously undercooked or unpleasantly dry.
Can I cook more than two breasts at once?
You can, as long as you do not overcrowd the basket. Air fryers rely on rapid convection; if the breasts are touching or overlapping, the air cannot circulate, resulting in pale, steamed meat rather than a seasoned crust. If cooking for a larger group, it is better to cook in batches.
Why do I need to flatten the chicken?
Most chicken breasts are tapered, with one end significantly thicker than the other. If you do not even them out to about 2cm, the thin end will be overcooked by the time the thickest part is safe to eat.
Does the seasoning make the chicken salty?
No. The seasoning amount is balanced for two medium chicken breasts. If your chicken breasts are very small, reduce the salt slightly; if they are larger, season evenly and check doneness with a thermometer rather than extending the time blindly.
— Gear
What I Used
The tools that make this recipe work consistently. Affiliate links — see disclosure.
Basket-Style Air Fryer
A medium basket-style air fryer works well for chicken breast because it leaves enough room to arrange the pieces in a single layer with space around them. Avoid overcrowding, as tightly packed chicken cooks less evenly and may take longer. If you are choosing a model, see our best air fryer overall guide.
Oil Sprayer or Silicone Brush
A refillable non-aerosol sprayer gives the chicken a light, even coating, while a silicone brush offers more control over thicker or uneven areas. Avoid leaving wet patches that steam instead of brown. See our recommended oil sprayer →
Instant-Read Thermometer
Chicken breast can move from juicy to dry quickly, so checking the thickest part is more reliable than relying on cooking time alone. See our recommended instant-read thermometer →
Silicone-Tipped Tongs
Useful for turning the chicken at the halfway point without piercing the meat or dragging exposed metal across the coated basket. See our recommended silicone-tipped tongs →
— Keep Cooking
You Might Also Like
-
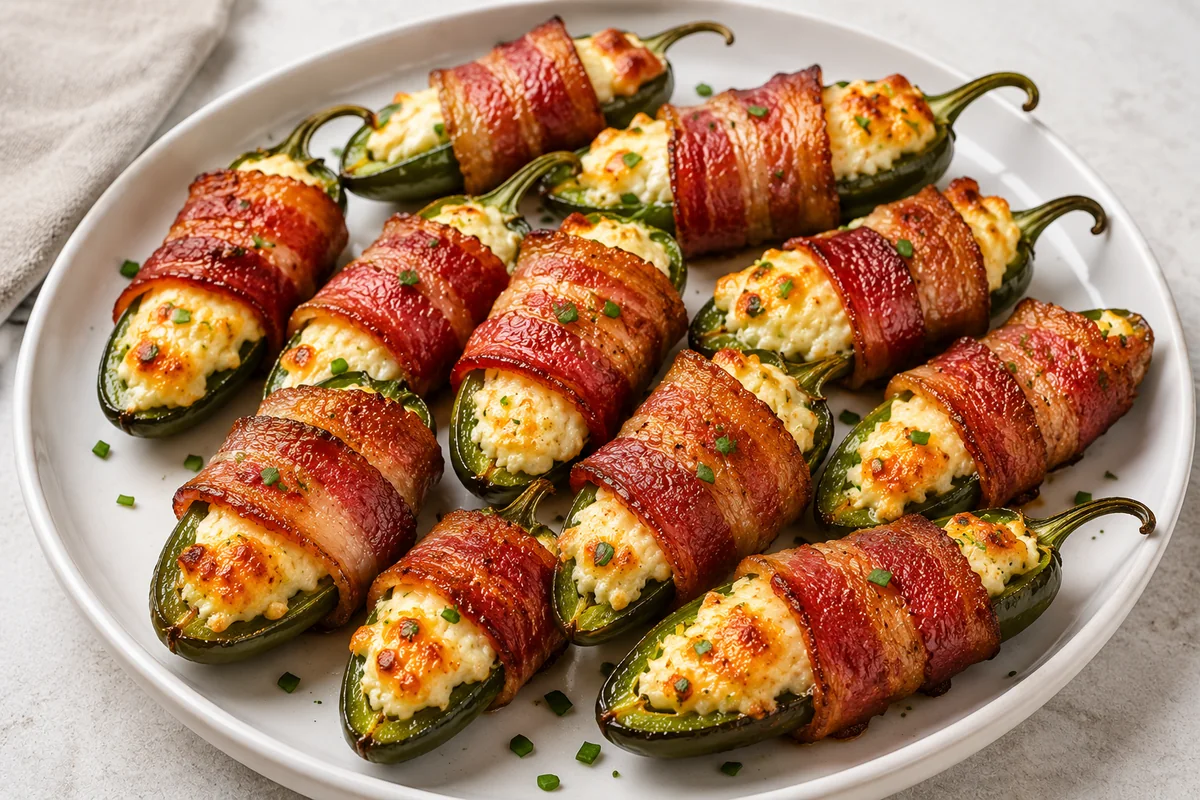
Air Fryer Bacon Wrapped Jalapeño Poppers
An easy air-fryer take on bacon wrapped jalapeño poppers — creamy filling, tender peppers, and crisp bacon in a single layer, with the key to avoiding basket leakage.
-
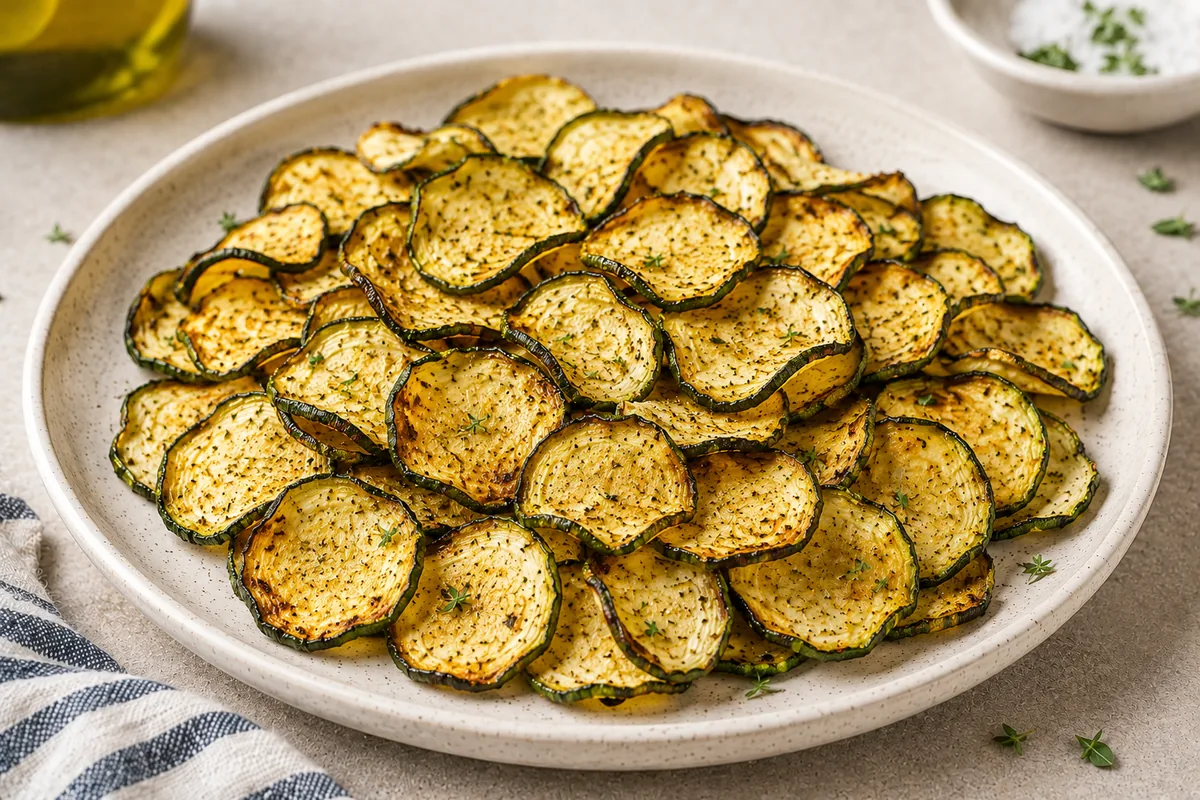
Air Fryer Zucchini Chips
Crispy air fryer zucchini chips with thin slices, simple seasoning, and practical tips for controlling moisture and getting better crunch.
-
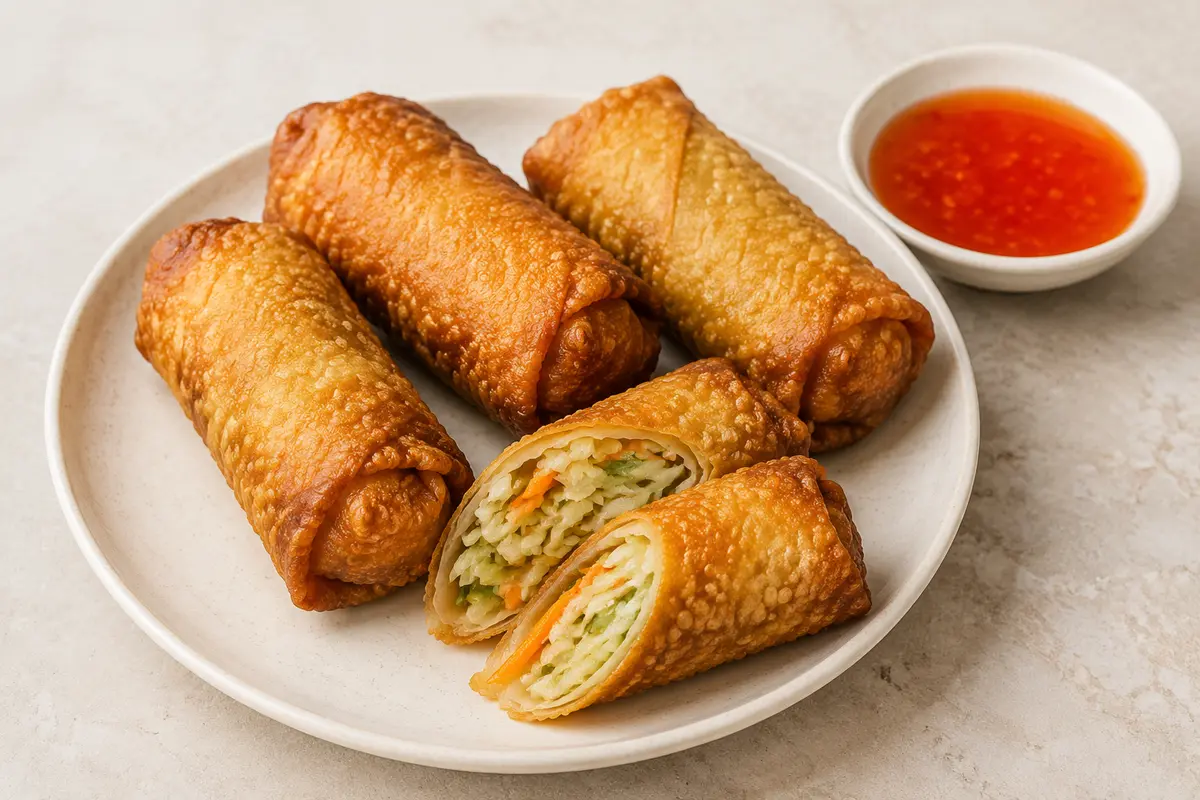
Air Fryer Frozen Egg Rolls
Cook frozen egg rolls straight from the freezer for crisp wrappers and a hot centre. The method includes practical timing for standard and larger rolls, plus clear guidance on spacing and oil spray.
— Stay in the Loop
New recipes every week
No fluff. Just crisp, practical kitchen inspiration in your inbox.