
— Mains
Air Fryer Whole Chicken: Crispy Skin, Juicy Meat, Clear Doneness Cues
A whole chicken cooked in the air fryer with crisp skin and juicy meat — no oven required. This version works because starting breast-side-down shields the lean white meat from the heating element while the fattier thighs and back render first, then a flip for the final stage browns the skin properly before resting.
K
K.T. Tavelle
Tested in a Ninja Air Fryer Max XL · 75–85 min · Serves 4
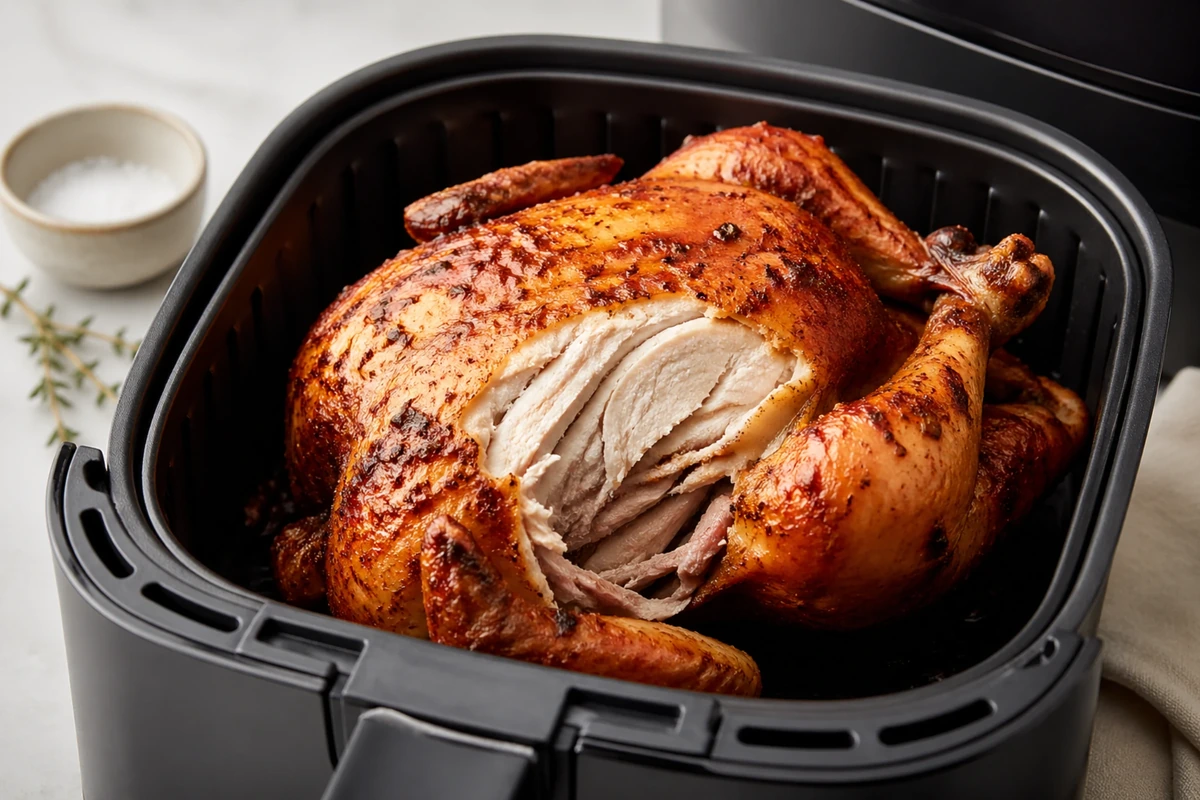
Whole chicken is one of the most demanding cooks an air fryer handles — not because the technique is complicated, but because the breast and thigh finish at different rates. Most recipes ignore this and end up with one or the other overdone. This version solves it with a single technique: start breast-side-down so the heating element works on the parts that need it most, then flip for the final stage so the skin crisps before resting. Pull temp at the thigh is the only reliable doneness check.
Worth Knowing Before You Cook
During testing, the best result came from starting the chicken breast-side down for the first 30 minutes, then flipping it breast-side up for the final stage; this protected the lean breast meat early while still giving the skin enough direct heat to brown and crisp before resting.
Ingredients
Equipment
Method
- Pat the chicken completely dry inside and out with paper towels. Any surface moisture will steam rather than roast, and soft skin is the result.
- Rub the outside of the chicken with olive oil, then combine the salt, smoked paprika, garlic powder, onion powder, dried thyme, and black pepper. Rub the seasoning mix all over the chicken, including under any loose skin on the breast.
- Preheat the air fryer to 180°C (360°F) for 3 minutes.
- Place the chicken breast-side-down in the basket. Check that the bird is not touching the heating element above. If it is, press firmly on the breastbone to flatten it slightly; if it still sits too close, use a smaller chicken.
- Air fry at 180°C (360°F) for 30 minutes.
- Flip the chicken breast-side-up using silicone-tipped tongs. The skin on the back should already be golden.
- Air fry for a further 20–25 minutes, until an instant-read thermometer inserted into the thickest part of the thigh, not touching bone, reads 74°C (165°F). Check the breast as a secondary point; if the thigh is safe but the breast is already reading higher, move to resting rather than continuing to cook.
- Rest the chicken on a board for 10 minutes before carving. Juices redistribute during this window; skipping it is one of the most common reasons the breast comes out dry on the plate.
Notes
Why This Recipe Works
The heating element in a basket air fryer sits at the top. That means anything facing up gets the most direct heat — which is exactly what you do not want for the breast during the first half of the cook. Starting breast-side-down puts the fattier, more forgiving thighs and back in the blast zone first, lets rendered fat drip down and naturally baste the breast from below, and reserves the final browning blast for when the chicken is flipped and the skin needs to crisp.
- Starting breast-side-down protects the lean white meat during the longest part of the cook.
- Rendered fat from the thighs and back bastes the breast naturally — no basting required.
- Flipping for the final 20–25 minutes gives the skin direct heat to brown and crisp before resting.
- Pull temp at the thigh (74°C (165°F)) is the only reliable doneness check — colour and time alone are not enough for a whole bird.
Pro Tips
- Pat the chicken completely dry before seasoning — any surface moisture will steam rather than roast, and soft pale skin is the result.
- Test the fit before you season: the bird should sit in the basket without touching the heating element above. If it does, press firmly on the breastbone to flatten the bird slightly. If it still sits too close, use a smaller bird.
- Do not truss for the air fryer. Tying the legs together makes the bird taller and brings it closer to the heating element.
- Use an instant-read thermometer inserted into the thickest part of the thigh, not touching bone. Colour and time alone are not reliable for a whole bird.
- Do not skip the 10-minute rest. Juices redistribute during this window — cutting immediately is the most common reason the breast comes out dry on the plate.
What Can Go Wrong
If the skin is pale and soft…
The surface was not dried properly before cooking, or the air fryer was not preheated. Pat the chicken completely dry with paper towels before seasoning, and do not skip the 3-minute preheat — a cold basket means the bird starts steaming before it starts roasting.
If the breast is dry but the thigh is fine…
The chicken was started breast-side-up, or was not rested for the full 10 minutes before carving. Both let the breast overcook and the juices escape. Start breast-side-down and rest before you cut — this is not optional.
If the thigh joint is still pink despite looking done outside…
The bird was too large for the basket and airflow was restricted, or the thermometer was not used. Pull temp at the thickest part of the thigh — not touching bone — is the only reliable check. Do not rely on colour or time alone.
If the air fryer is smoking during the cook…
Rendered fat has dripped and is burning on the base of the basket. Add a small amount of water to the drip tray before cooking, or pause at the flip point and wipe the base clean before continuing.
If the bird does not fit in the basket…
Press firmly on the breastbone to flatten the bird slightly — stopping if it still sits too close to the heating element. If flattening is not enough, choose a smaller bird. In Australia, organic chickens tend to run smaller than supermarket birds and are easier to fit. In the US, look for a bird at or under 3.5 lb / 1.6 kg for a standard 6-quart basket.
Storage & Reheating
Pull the chicken meat off the bone before storing — it takes up less space and reheats more evenly than carving and storing whole pieces. Keep in an airtight container in the fridge for up to 4 days. For longer storage, freeze (bones removed) for up to 3 months. The carcass is worth keeping in a freezer bag for stock.
To reheat, air fry at 180°C (360°F) for 4–5 minutes until heated through. Avoid microwaving the breast — it turns rubbery quickly. Reheat thigh and leg meat in the air fryer for best texture.
Related Guides
- Best Large Air Fryers — basket size determines whether this recipe is physically possible; a 6 L / 6-quart basket is the minimum for a 1.3–1.6 kg / 3–3.5 lb bird.
- Air Fryer Meat Temperature Guide — safe pull temperatures and doneness targets for every protein, including notes on carry-over cooking.
- Air Fryer Temperature & Cooking Times Chart — quick-reference temperatures and times across cuts and proteins.
FAQ
What size chicken fits in a standard basket air fryer?
For a 5.8–6.2 L / 6-quart basket, a bird of 1.3–1.6 kg / 3–3.5 lb fits with clearance from the heating element. In Australia, most supermarket chickens run larger (1.6–2 kg) — look for organic birds, which tend to be smaller. In the US, a standard 3–3.5 lb bird fits a 6-quart basket comfortably. Always test the fit before seasoning — the bird should not touch the heating element above.
Should I truss the chicken?
No — and this is different from oven roasting where trussing is standard. Tying the legs together makes the bird taller, which brings it closer to the heating element and can cause uneven cooking or burning. Leave the legs loose for the air fryer.
Why start breast-side-down?
The heating element sits at the top of a basket air fryer, so whatever faces up gets the most direct heat. Starting breast-side-down means the thighs and back — fattier cuts that can handle more heat and take longer to cook — face the element during the longest part of the cook. Rendered fat drips down and naturally bastes the breast. Flipping for the final stage gives the breast skin direct heat to crisp before resting.
Do I need to stuff the cavity?
No. Stuffing the cavity restricts airflow and makes it much harder for the inside to cook through at the same rate as the outside — by the time the stuffing reaches a safe temperature, the chicken skin is usually overcooked. The cavity can hold aromatics (halved lemon, garlic, fresh herbs) loosely, but not a dense stuffing.
How do I know when it is done?
An instant-read thermometer inserted into the thickest part of the thigh — not touching bone — should read 74°C (165°F). Check the breast as a secondary confirmation; if the thigh is safe but the breast is already reading higher, move to resting rather than continuing to cook. Colour and time alone are not reliable for a whole bird.
— Gear
What I Used
The tools that make this recipe work consistently. Affiliate links — see disclosure.
Ninja Air Fryer Max XL
Tested in this model. The basket fits a 1.3–1.6 kg / 3–3.5 lb bird, but clearance is tight — check the chicken does not touch the heating element before seasoning. Similar US basket-size options include the Cosori Pro 5.8 Qt or Instant Vortex Plus 6 Qt.
Instant-Read Thermometer
Strongly recommended — checking the temperature at the thickest part of the thigh is the most reliable way to confirm that a whole bird is cooked through. See our recommended instant-read thermometer →
Silicone-Tipped Tongs
Optional but useful — they help you turn the hot bird at the halfway point without tearing the skin or dragging exposed metal across the coated basket. See our recommended silicone-tipped tongs →
— Keep Cooking
You Might Also Like
-
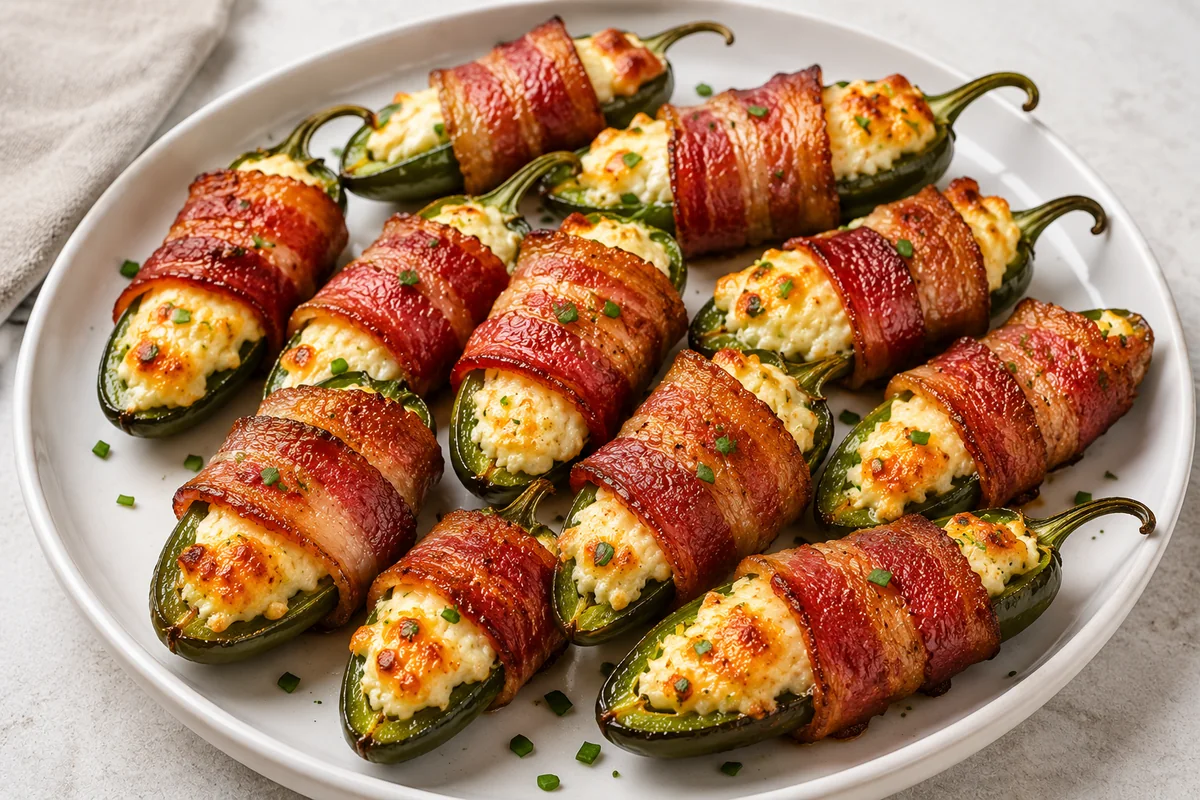
Air Fryer Bacon Wrapped Jalapeño Poppers
An easy air-fryer take on bacon wrapped jalapeño poppers — creamy filling, tender peppers, and crisp bacon in a single layer, with the key to avoiding basket leakage.
-
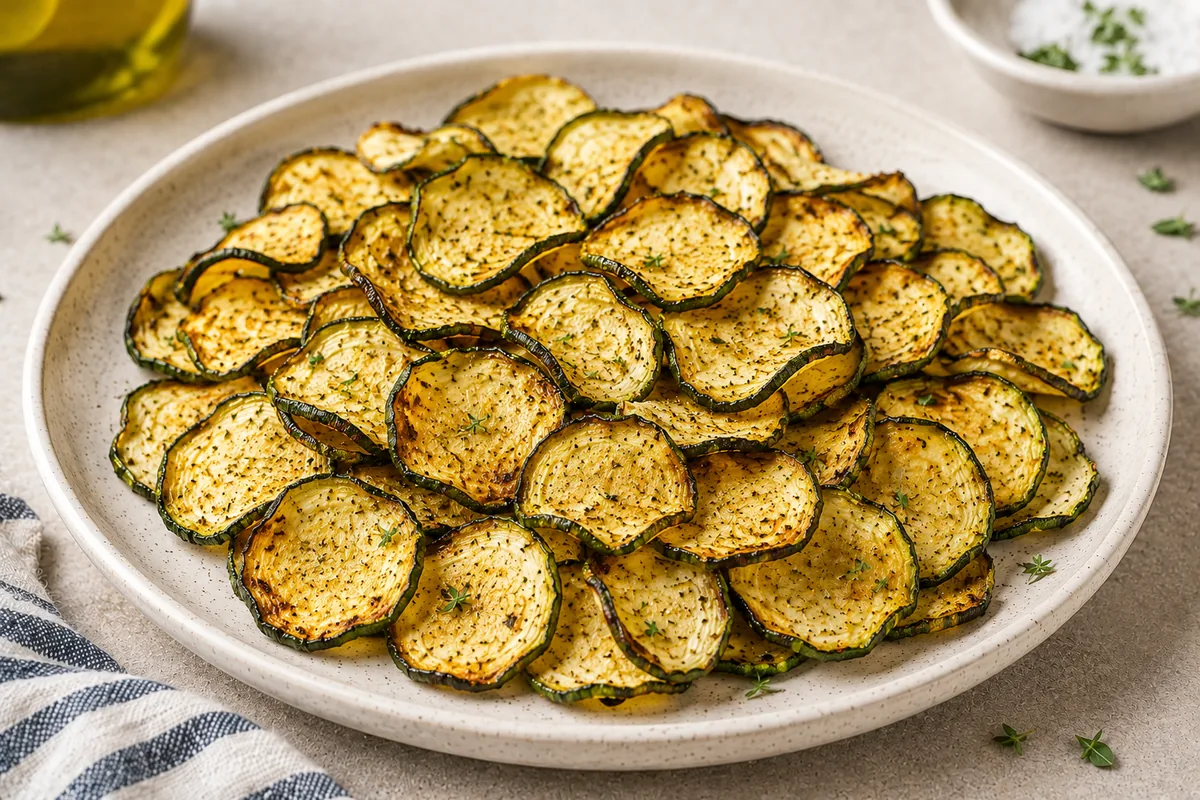
Air Fryer Zucchini Chips
Crispy air fryer zucchini chips with thin slices, simple seasoning, and practical tips for controlling moisture and getting better crunch.
-
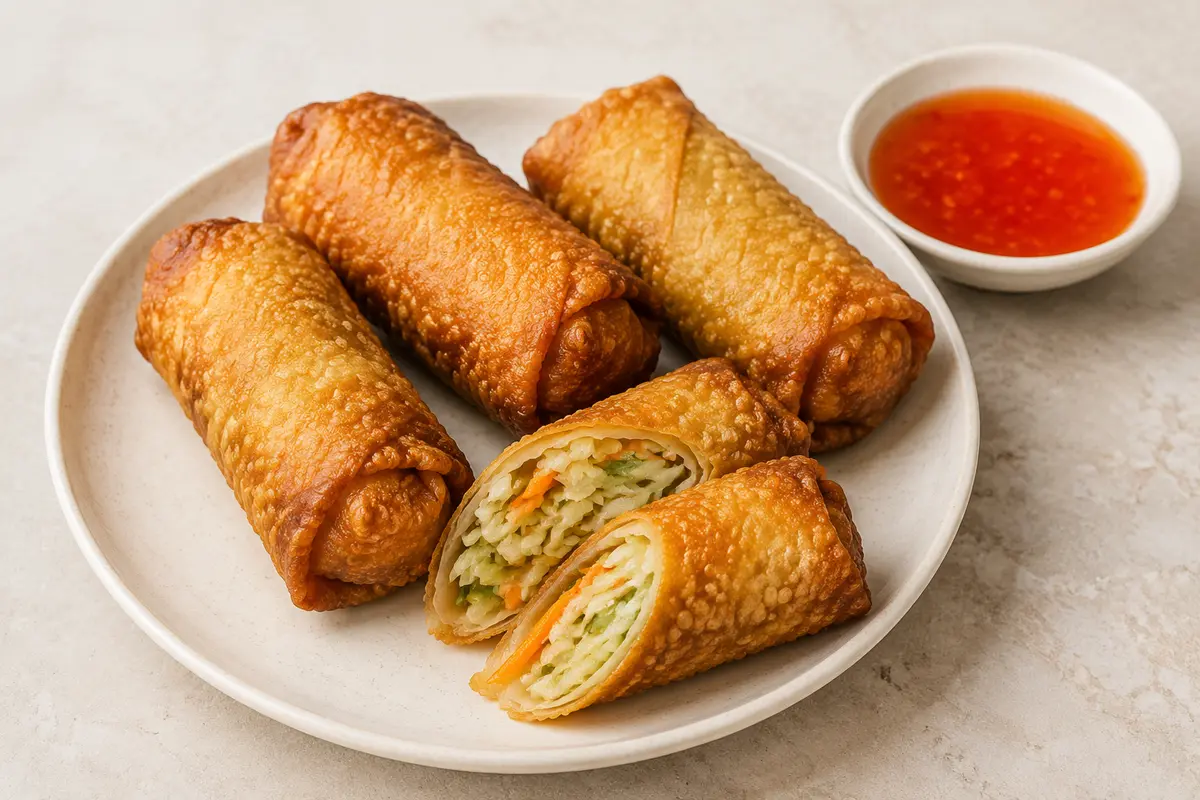
Air Fryer Frozen Egg Rolls
Cook frozen egg rolls straight from the freezer for crisp wrappers and a hot centre. The method includes practical timing for standard and larger rolls, plus clear guidance on spacing and oil spray.
— Stay in the Loop
New recipes every week
No fluff. Just crisp, practical kitchen inspiration in your inbox.