
— Mains
Air Fryer Chicken Wings: The Crispy Method That Works
A reliable method that balances rendered fat, browned skin, and a juicy centre — without deep frying.
K
K.T. Tavelle
Developed for basket-style air fryers · 37 min · Serves 4
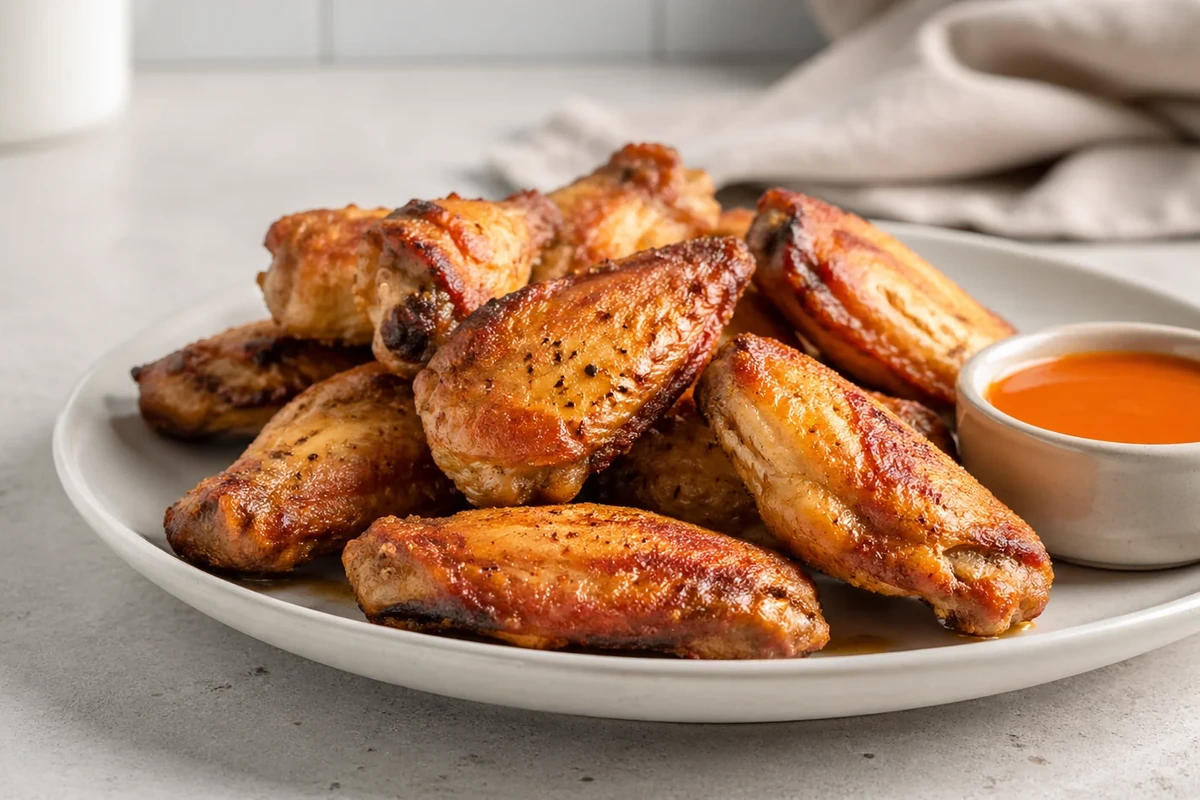
Getting chicken wings crispy in an air fryer is straightforward when you control two things: surface moisture and temperature. This method uses baking powder and high heat to do both — no brining, no dredging, no deep frying. The result is wings with rendered fat under the skin, a brown and blistered exterior, and meat that stays juicy through the rest period.
Worth Knowing Before You Cook
A common issue with air fryer wings is that they turn tough or rubbery when cooked at too low a temperature for too long. Patting the wings completely bone-dry before seasoning is the practical fix — moisture is the enemy of browning and will cause the wings to steam rather than crisp.
Ingredients
Equipment
Method
- Pat the 1 kg (2.2 lb) of split chicken wings completely dry with paper towels.
- Toss the wings in a bowl with 1 tbsp baking powder and 1 tsp salt until evenly coated.
- Preheat the air fryer to 200°C (400°F).
- Arrange the wings in a single layer in the basket, ensuring they do not touch for maximum airflow. If your basket is smaller than about 5.5–6 qt, cook the wings in two batches rather than stacking them.
- Air fry at 200°C (400°F) for 22 minutes, flipping halfway through.
- Verify an internal temperature of 74°C (165°F) using a digital thermometer.
- Rest for 5 minutes before serving to allow the juices to redistribute and the skin to fully set.
Notes
Why This Recipe Works
Two things drive crispiness in this recipe: fat rendering and surface browning. The air fryer handles both more efficiently than a standard oven.
- High-heat airflow renders the fat sitting under the wing skin, which is what collapses and crisps the surface.
- Baking powder raises the surface pH, which accelerates browning and helps the skin blister more evenly than salt alone would.
- A 5-minute rest after cooking lets the juices redistribute and allows the skin to fully set before serving.
Pro Tips
- Pat the wings as dry as possible — this is the single most important step for crispiness.
- Use baking powder, not baking soda. Baking soda has a much stronger taste and will make the wings bitter.
- Do not skip the preheat — starting wings in a cold basket increases steam and slows browning.
- If your basket is smaller than about 5.5–6 qt, cook in two batches rather than stacking. Airflow is what crisps the skin.
What Can Go Wrong
If the skin is soft and pale
The wings were not dry enough before seasoning. Pat more thoroughly next time and do not skip the baking powder.
If the wings are tough or rubbery
Temperature was too low or cook time too short. Confirm your fryer is preheated and running at a true 200°C (400°F).
If the skin is burnt but the inside is raw
Wings were stacked or overcrowded. Cook in two batches with a single layer and adequate spacing between pieces.
If the wings are dry and overcooked
The rest period was skipped, or internal temp ran well past 74°C (165°F). Pull them at temperature and always rest for 5 minutes before serving.
If reheated wings go soggy
Oven reheating will not restore crispness. Return the wings to the air fryer at 180°C (350°F) for 4–5 minutes until the skin re-crisps and the internal temperature reaches 74°C (165°F).
Storage & Reheating
Store leftovers in an airtight container in the fridge for up to 3 days.
To reheat, air fry at 180°C (350°F) for 4–5 minutes until the skin re-crisps and the internal temperature reaches 74°C (165°F). Avoid oven reheating — it will not restore crispness.
Related Guides
- Air Fryer Not Crispy? — A full troubleshooting guide covering the most common reasons food won’t crisp in the air fryer, with fixes for each.
- Air Fryer Meat Temperature Guide — Safe internal temperatures for chicken, pork, beef, and seafood, including pull temps and carryover notes.
- Air Fryer Cooking Times — A full reference chart of times and temperatures for common air fryer foods, useful if you are cooking sides or other proteins alongside the wings.
FAQ
Do I need to use baking powder?
Yes, if crispiness is the goal. Baking powder raises the surface pH of the skin, which helps it brown and blister faster at high heat. Salt alone won’t produce the same texture. Use baking powder — not baking soda, which will make the wings bitter.
Can I cook more than 1 kg at once?
Only if your basket is large enough to hold them in a single layer without touching. Stacking wings traps steam and prevents the skin from crisping. For larger batches, cook in two rounds and keep the first batch warm in a low oven at around 100°C (210°F) while the second cooks.
Why do I need to rest the wings after cooking?
The rest period allows the juices inside the meat to redistribute rather than running out when you bite in. It also gives the skin a chance to fully set — wings eaten immediately out of the fryer can be slightly soft on the underside. Five minutes is enough.
— Gear
What I Used
The tools that make this recipe work consistently. Affiliate links — see disclosure.
Basket-Style Air Fryer (5.5–6 qt)
Large enough to hold 1 kg of wings in a single layer. Smaller baskets will require two batches. See our best large air fryer picks if you are sizing up.
Instant-Read Digital Thermometer
The most reliable way to confirm the wings have reached 74°C (165°F) without cutting into them. See our recommended instant-read thermometer →
Paper Towels
Essential for patting the wings completely dry before seasoning. This step has more impact on crispiness than almost anything else.
— Keep Cooking
You Might Also Like
-
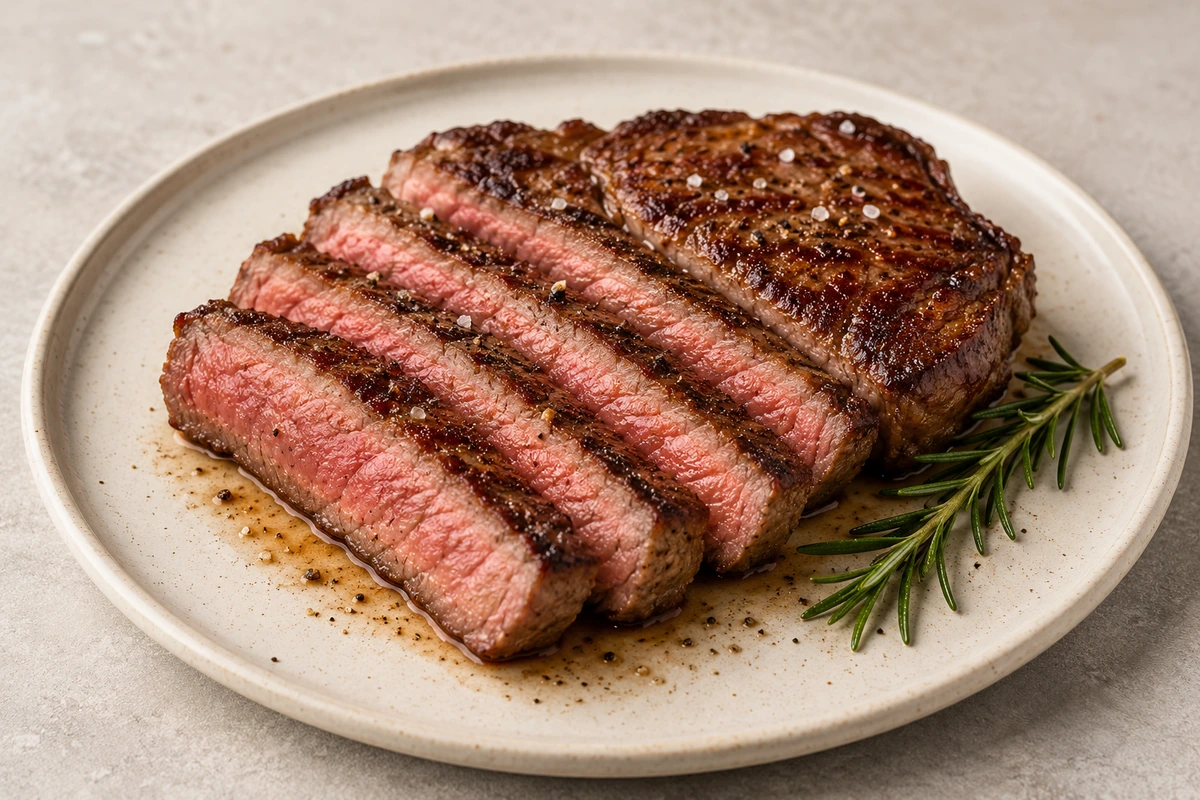
Air Fryer Steak
This air fryer steak method uses a hot basket, an instant-read thermometer and a proper rest for a juicy centre and well-browned exterior. Includes timing and doneness guidance for ribeye, strip and sirloin.
-
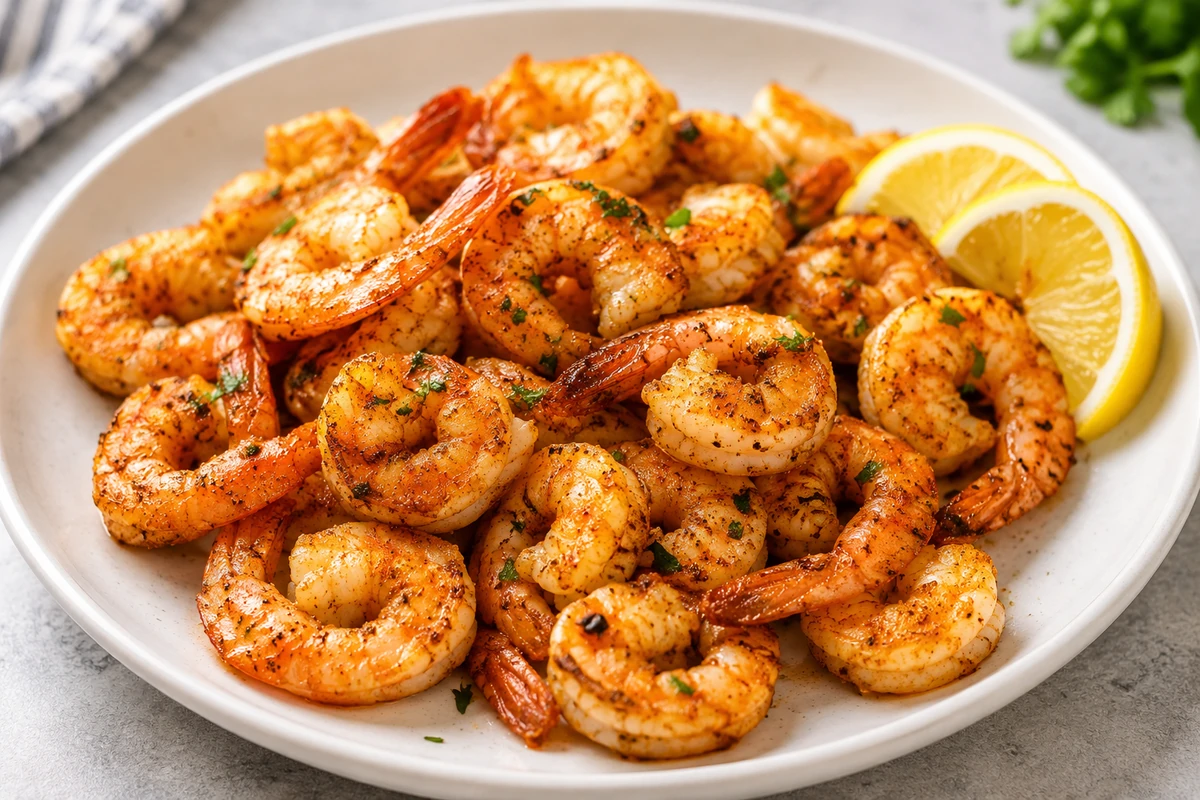
Air Fryer Shrimp
A fast weeknight seafood recipe that broadens KitchenTact’s protein coverage without becoming fussy.
-
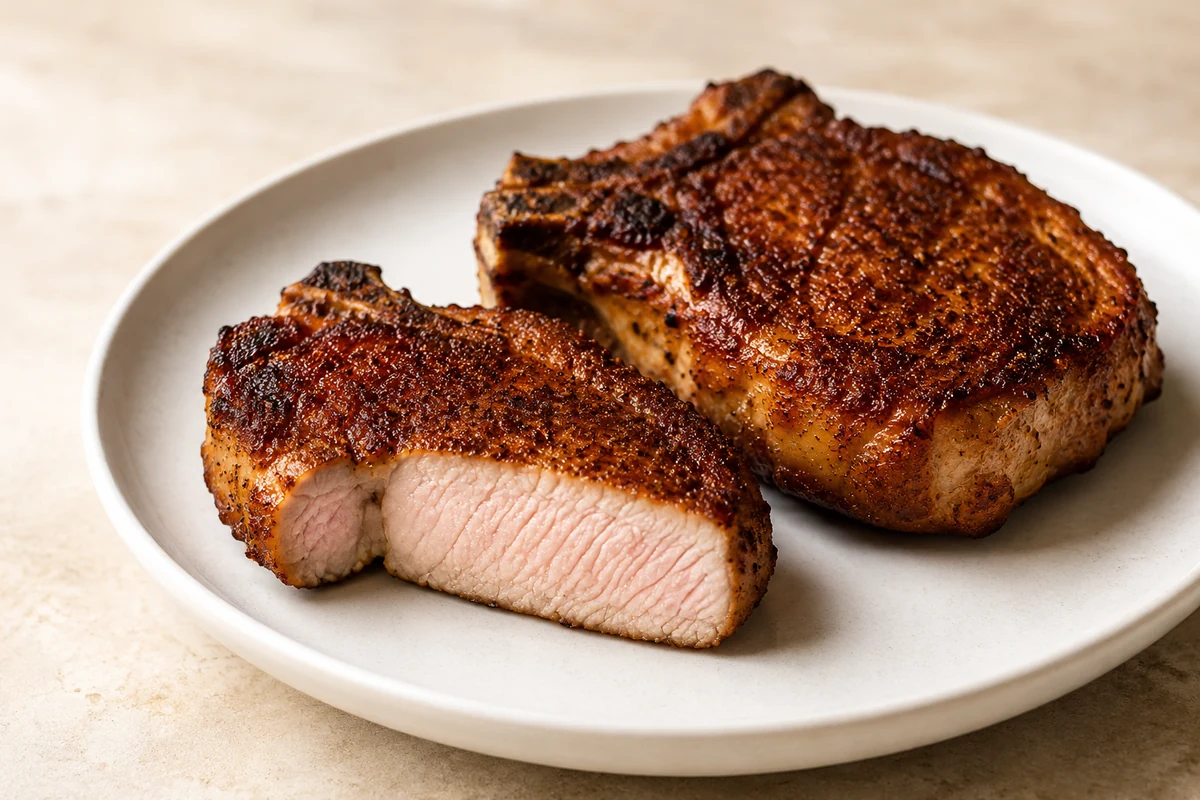
Air Fryer Pork Chops
A benchmark pork recipe focused on internal temperature control and clean browning rather than just timing.
— Stay in the Loop
New recipes every week
No fluff. Just crisp, practical kitchen inspiration in your inbox.