
— Mains
Air Fryer Chicken Tenders: Crispy Coating, Juicy Inside, Weeknight-Ready
Breaded chicken tenderloins cooked in a basket-style air fryer at high heat — crisp Panko coating, juicy interior, done in 28–30 minutes. A reliable three-stage dredge method that works on a weeknight without fuss.
K
K.T. Tavelle
Developed for basket-style air fryers · 30 min · Serves 4
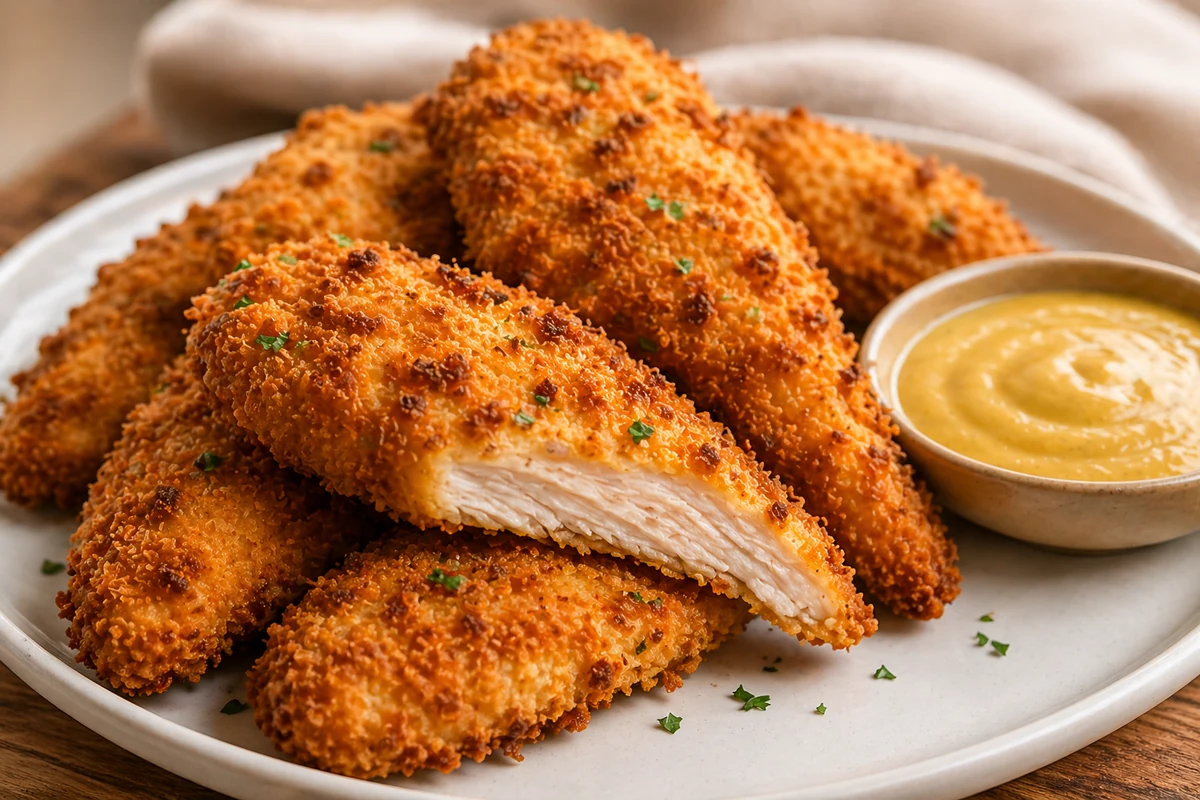
Chicken tenders are one of those recipes where the method matters more than the ingredient list. The chicken itself is forgiving — it’s the dredge and the heat that determine whether you get a crisp, even crust or a pale, floury coating that slides off on the first bite. This recipe uses a classic three-stage Panko dredge and a high air fryer temperature to get the coating properly golden before the lean tenderloin has a chance to dry out.
Worth Knowing Before You Cook
A common issue with this recipe is breading that lifts or falls off during cooking. The most likely cause is skipping the pat-dry step — if the chicken surface is wet, the flour won’t adhere cleanly, which weakens the bond between each dredge layer. Pat each tenderloin thoroughly with paper towels before the first dredge, and shake off all excess flour before moving to the egg wash. This keeps the coating thin and even, which is what holds together in the air fryer.
Ingredients
Equipment
Method
- Pat the chicken tenderloins completely dry with paper towels. Remove the tendon from each piece if preferred.
- Set up a three-stage dredging station: plain flour in the first bowl; eggs whisked with milk in the second; Panko breadcrumbs combined with garlic powder, onion powder, smoked paprika, salt, and pepper in the third.
- Dredge each tenderloin in flour first, shaking off all excess. Coat in the egg wash, letting any excess drip off. Press firmly into the seasoned Panko, turning to coat both sides.
- Preheat the air fryer to 200°C (400°F) for 3-5 minutes.
- Arrange the tenders in a single layer in the air fryer basket, leaving space between each piece. Do not overlap. Cook in batches if needed.
- Spray the tops of the tenders with oil from a pump sprayer. This helps the Panko brown instead of staying pale and dry.
- Air fry at 200°C (400°F) for 10-12 minutes, flipping once at the 6-minute mark. After flipping, spray the second side with oil before continuing.
- Check that the coating is deeply golden and firm when tapped. Use a meat thermometer to confirm the thickest part has reached 74°C (165°F).
- Rest the tenders on a rack for 3 minutes before serving.
Notes
Why This Recipe Works
Cooking at 200°C (400°F) crisps the Panko breadcrumbs quickly enough that the lean tenderloin meat doesn’t have time to dry out. A single flip at the halfway point ensures both sides brown evenly without the need to monitor or adjust.
- High heat at 200°C (400°F) sets the Panko fast — the crust forms before the interior overcooks.
- Flipping once at 6 minutes gives both sides equal contact with hot circulating air, so neither side is pale or soggy.
- The 3-minute rest after cooking allows carry-over heat to finish the cook and the juices to redistribute before the first bite.
Pro Tips
- Pat the chicken completely dry before dredging — this is the single most important step for a coating that stays on.
- Shake off all excess flour at the first stage. A thick flour layer traps moisture and prevents the egg wash from bonding cleanly.
- Use a refillable non-aerosol sprayer with plain oil. Some air fryer manufacturers advise against aerosol cooking sprays because additives can leave residue on certain non-stick surfaces, so follow the care instructions for your appliance.
- If your tenders are larger than 70g, add 1–2 minutes to the cook time and check the thickest piece with an instant-read thermometer. Poultry should reach 74°C (165°F) before serving.
What Can Go Wrong
Pale and floury-looking coating
The Panko wasn’t adequately coated with oil before cooking. Use a pump sprayer to apply a thin, even coat of oil to both sides — before air frying and again after flipping.
Breading falls off during cooking
The chicken wasn’t patted dry before dredging, or too much flour was left on before the egg wash. Dry the chicken thoroughly first and shake off all excess at each dredge stage.
One side crisp, one side soggy
The flip was missed, or the tenders were overlapping in the basket. Cook in a single layer and flip at exactly the 6-minute mark. If your basket is small, cook in batches rather than crowding.
Storage & Reheating
Cool completely, then refrigerate in an airtight container for up to 3 days.
Reheat in the air fryer at 180°C (350°F) for 4–5 minutes until the coating is crisp again and the internal temperature reaches 74°C (165°F). Avoid the microwave — it softens the Panko coating. Do not reheat more than once.
Related Guides
- Air Fryer Not Crispy? Common Causes and Fixes — if the coating isn’t browning the way you expect, this guide covers the most common reasons and how to fix them.
- Air Fryer Cooking Times Chart — a reference for times and temperatures across a wide range of air fryer recipes.
- Air Fryer Chicken Breast — same high-heat approach applied to a whole breast fillet, with safe thermometer guidance.
FAQ
Can I use regular breadcrumbs instead of Panko?
Yes, but the result will be denser. Panko breadcrumbs are larger and lighter than regular breadcrumbs, which gives the coating more surface area to crisp. Standard breadcrumbs produce a thicker, heavier crust that can feel stodgy rather than crunchy.
Do I need to preheat the air fryer?
Yes. Preheating for 3–5 minutes at 200°C (400°F) means the basket is already hot when the tenders go in. This helps the Panko start crisping immediately on contact rather than warming up slowly, which reduces the chance of a soggy bottom layer.
How do I know when the chicken tenders are cooked through?
Use an instant-read thermometer. The thickest part of the tenderloin should read 74°C (165°F). The coating colour and juices running clear are useful supporting cues, but for poultry they are not reliable on their own — a thermometer is the only way to be certain.
— Gear
What I Used
The tools that make this recipe work consistently. Affiliate links — see disclosure.
Basket-Style Air Fryer, 5.5L (5.8 qt)
A standard 5.5L basket gives enough floor space to arrange four or five tenders in a single layer without overlapping. Smaller baskets may require two batches. If you are choosing a model, see our best air fryer overall guide.
Instant-Read Meat Thermometer
Checking the thickest tender is the most reliable way to confirm it has reached 74°C (165°F), especially when the pieces vary in size. See our air fryer meat temperature guide for safe temperatures across different proteins. See our recommended instant-read thermometer →
Refillable Non-Aerosol Oil Sprayer
A refillable sprayer gives the breading a light, even coating without adding excess oil. Fill it with canola, avocado, or light olive oil. Some air fryer manufacturers advise against aerosol cooking sprays because additives can leave residue on certain non-stick surfaces, so follow the care instructions for your appliance. See our recommended oil sprayer →
— Keep Cooking
You Might Also Like
-
Air Fryer Steak
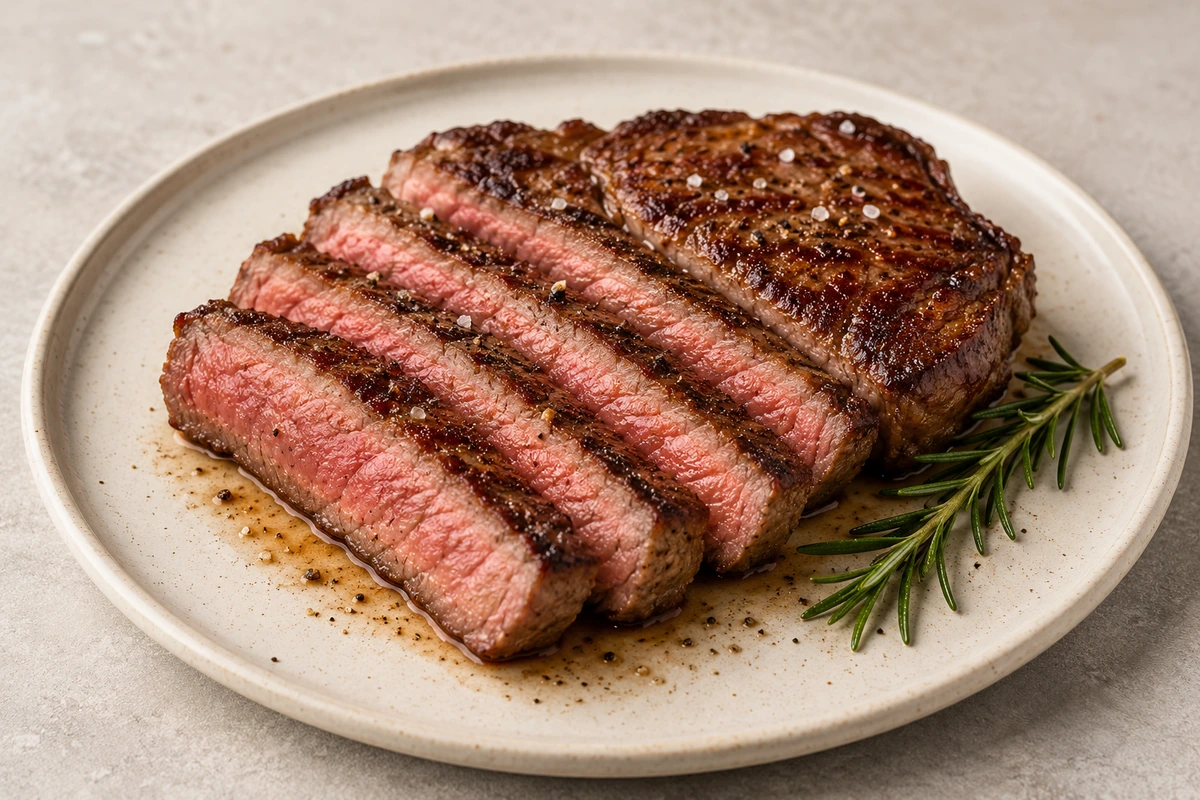
This air fryer steak method uses a hot basket, an instant-read thermometer and a proper rest for a juicy centre and well-browned exterior. Includes timing and doneness guidance for ribeye, strip and sirloin.
-
Air Fryer Shrimp
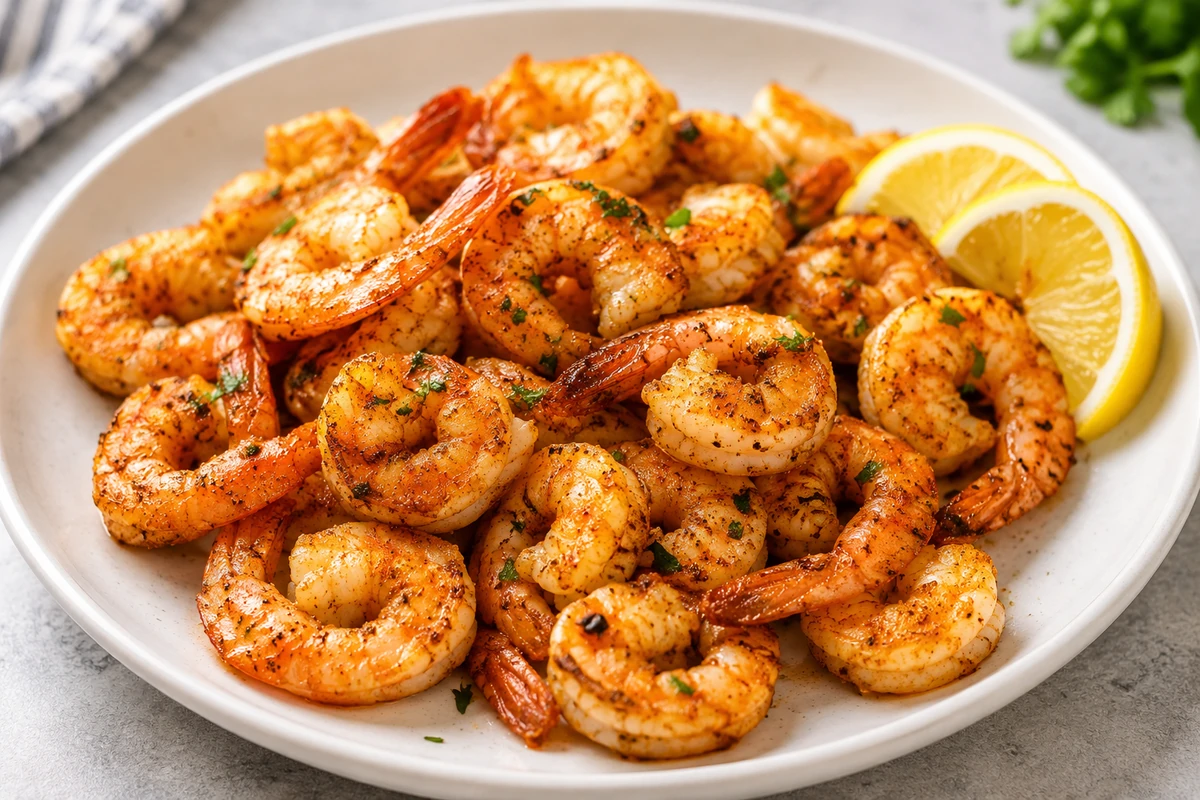
A fast weeknight seafood recipe that broadens KitchenTact’s protein coverage without becoming fussy.
-
Air Fryer Pork Chops
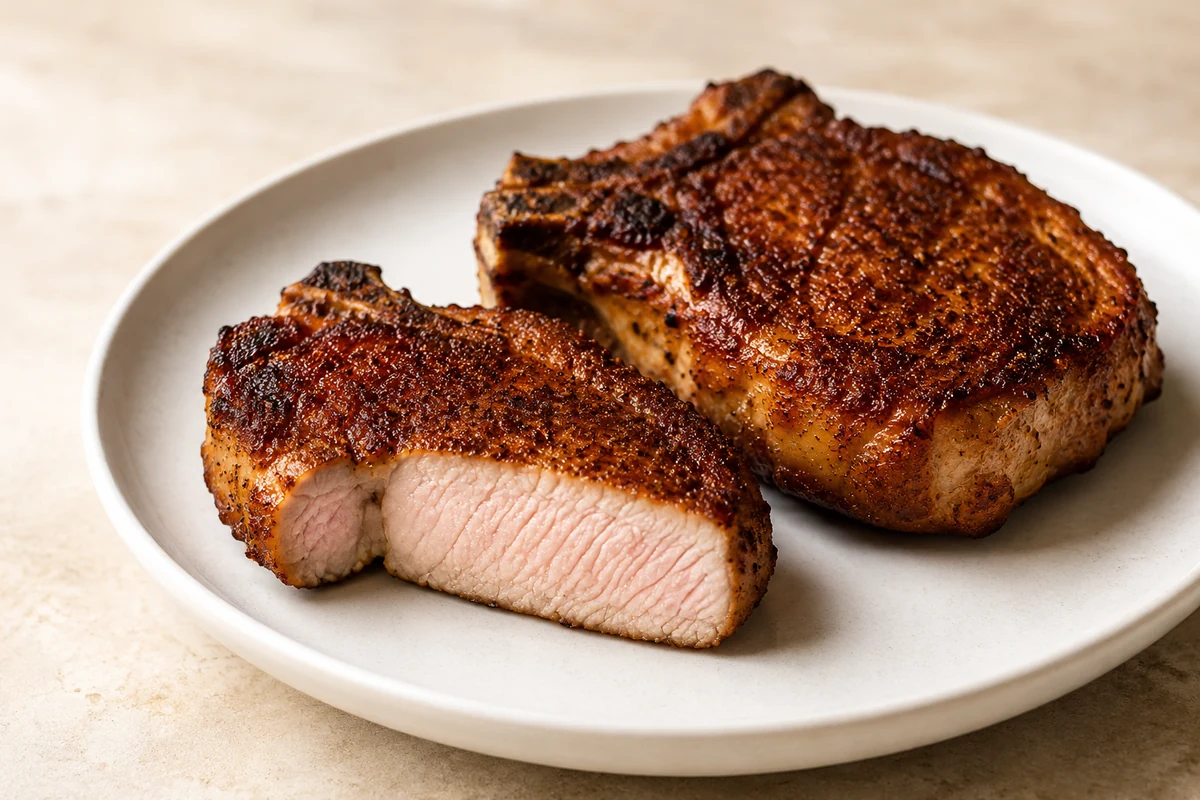
A benchmark pork recipe focused on internal temperature control and clean browning rather than just timing.
— Stay in the Loop
New recipes every week
No fluff. Just crisp, practical kitchen inspiration in your inbox.